 Pin it
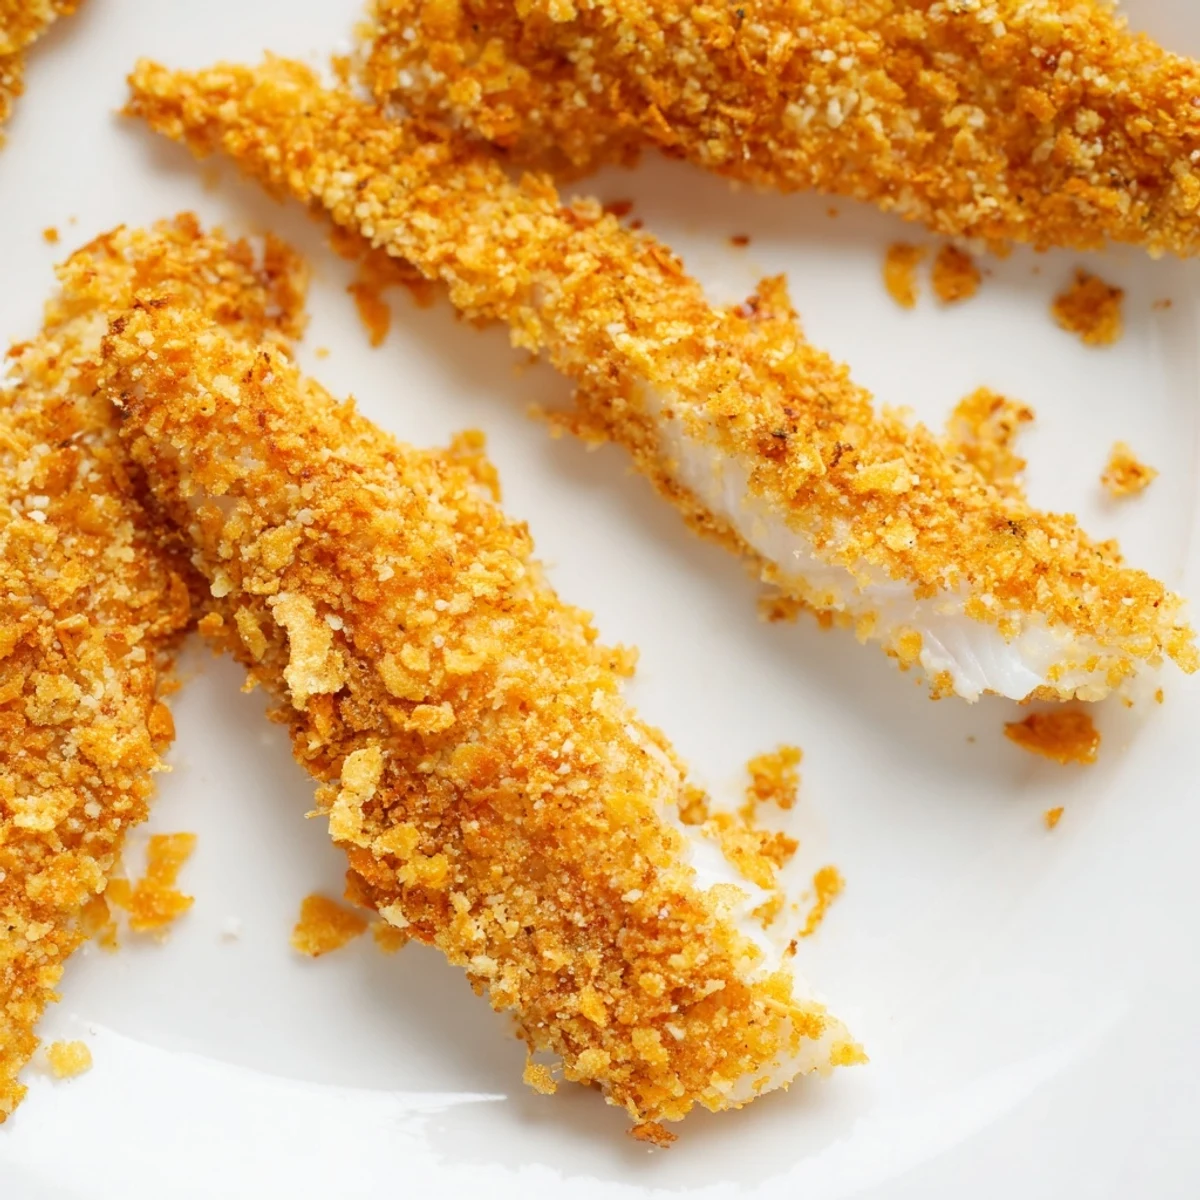
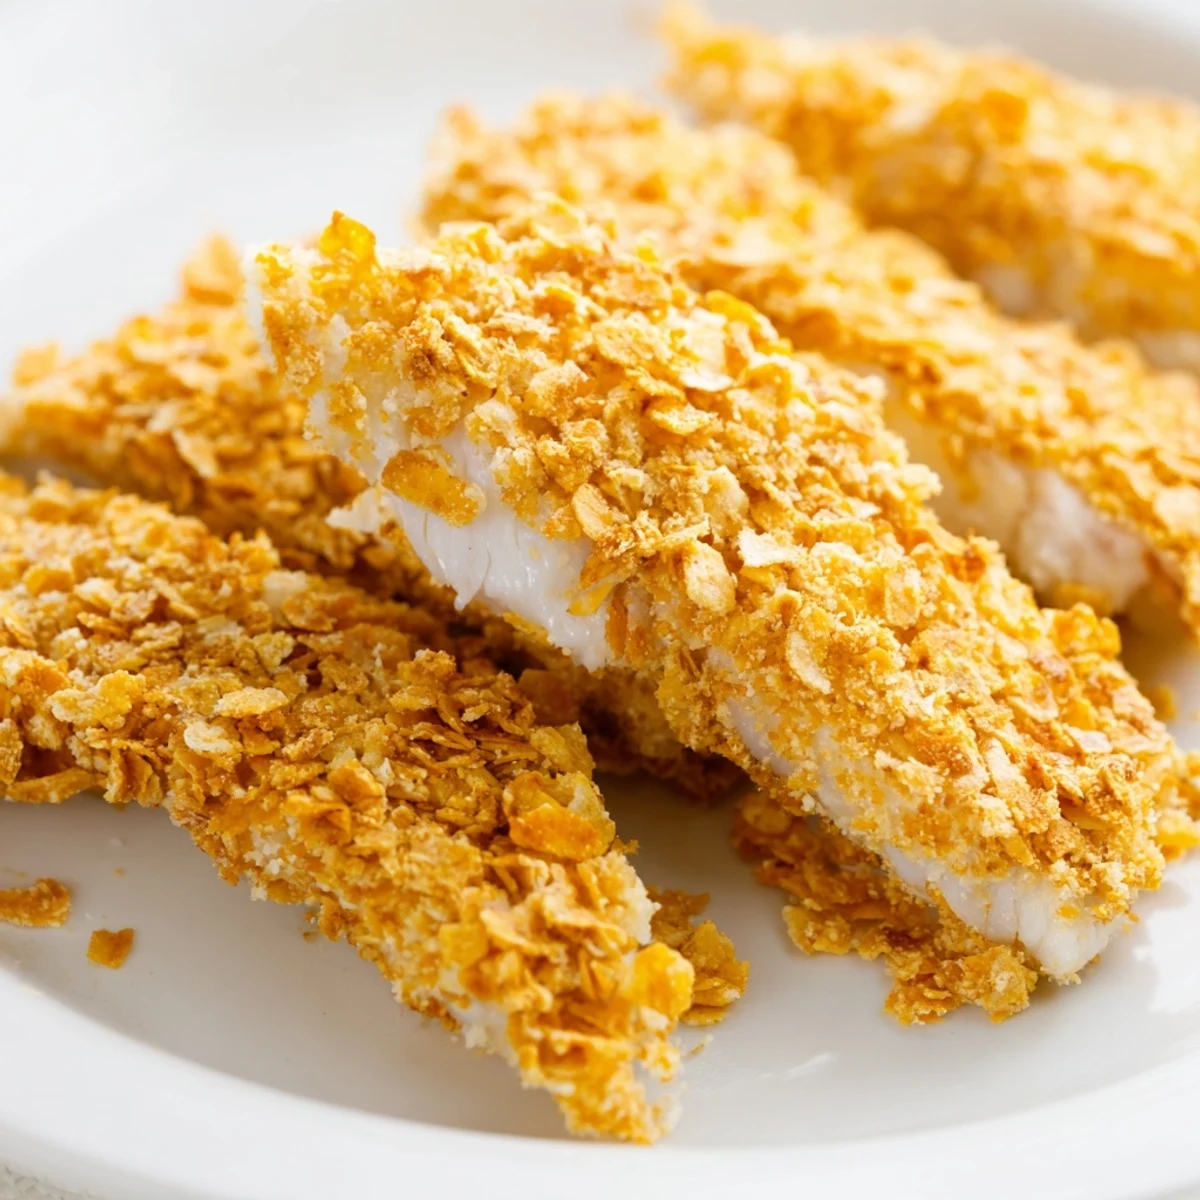
 Transform ordinary white fish into crunchy golden strips with a crispy corn chip coating. These oven-baked fingers offer satisfying texture and flavor that both children and adults adore. The simple three-step breading process creates a perfectly crisp exterior while keeping the fish moist and tender inside.
Ready in just 35 minutes with minimal prep work, this dish easily feeds a family of four. Customize the coating with spices like paprika or garlic powder for extra zing. Serve with lemon wedges and tartare sauce for a complete meal that makes weeknight dinners exciting.
The first time I made these corn chip fish fingers was on a rainy Tuesday when I realized halfway through dinner prep that I'd forgotten to buy breadcrumbs. The crushed corn chips were already sitting on the counter from snack time earlier, and I figured why not give it a try. My kids actually cheered when they saw what I was doing, and now they request this version over the traditional one every single time.
Last summer, I made a huge batch of these for a neighborhood block party. I was worried about keeping everything warm while people mingled, but something amazing happened they disappeared so fast that temperature never became an issue. Three different neighbors asked for the recipe that evening, and now we all make them slightly differently, which has become a fun thing to compare at our gatherings.
Ingredients
- 500 g firm white fish fillets: I use cod or haddock most often because they hold their shape beautifully when cut into strips. Tilapia works great too and is usually more budget friendly.
- Salt and black pepper: Keep it light since the corn chips bring plenty of their own seasoning to the party.
- 150 g plain corn chips: The trick is crushing them just enough so they coat well but still leave some texture. Too fine and you lose the crunch factor.
- 50 g all-purpose flour: This helps the egg wash stick to the fish and creates that essential first layer of coating.
- 2 large eggs: Room temperature eggs work best for coating consistency.
Instructions
- Get your oven ready:
- Preheat to 200°C (400°F) and line your baking sheet with parchment paper. I learned that skipping this step makes cleanup miserable later.
- Prep the fish:
- Cut your fillets into 2 cm strips and pat them completely dry with paper towels. Excess moisture prevents the coating from sticking properly.
- Set up your coating station:
- Arrange three shallow bowls with flour, beaten eggs, and crushed corn chips in that order. This assembly line approach keeps the process smooth and organized.
- Coat each strip:
- Dredge fish in flour, dip in egg, then press into corn chips. Place on the baking sheet and repeat until all pieces are coated.
- Bake until golden:
- Bake for 15 to 20 minutes, turning once halfway through. The fish should be completely opaque and flake easily when done.
 Pin it
 My husband started helping me make these on Friday nights, and its somehow become our little cooking ritual. We put on music, crush the corn chips together, and catch up about our week while the fish bakes. Those twenty minutes of baking time have turned into the best part of my whole week.
Making Them Your Own
Ive started adding different spices to the corn chip crush depending on my mood. A pinch of smoked paprika adds this wonderful depth, while garlic powder makes them taste almost like restaurant quality. Cayenne pepper creates a version that my spice loving friends cant stop talking about.
Perfect Pairings
These fish fingers have become my go to when I need something that appeals to everyone. I serve them with simple roasted vegetables for a complete dinner, or cut them into smaller pieces as party appetizers. The dipping sauce possibilities are endless, from classic tartare to spicy mayo.
Getting Ahead
One weekend I experimented with making a double batch and freezing half before baking. Now I always keep a stash in the freezer for those nights when cooking anything from scratch feels impossible. They go straight from freezer to oven with just a few extra minutes needed.
- Freeze uncooked coated strips on a baking sheet first, then transfer to a bag.
- Add about 5 minutes to the baking time when cooking from frozen.
- The coating stays surprisingly crisp even after freezing.
 Pin it
 Theres something deeply satisfying about taking a simple ingredient like corn chips and transforming it into something that makes my family this happy at dinner time. Its the little wins that matter most.
Recipe FAQs
- → What type of fish works best for corn chip coating?
-
Firm white fish fillets like cod, haddock, or tilapia hold up perfectly during coating and baking. Their mild flavor complements the savory corn chips without overpowering the dish.
- → Can I make these ahead of time?
-
Prepare and coat the fish strips up to 4 hours before baking. Store them covered in the refrigerator on the prepared baking sheet, then bake when ready to serve for maximum freshness.
- → How do I get the crispiest coating?
-
Crush corn chips finely but leave some texture for crunch. Space strips apart on the baking sheet and flip halfway through cooking. This ensures even browning and maximum crispiness on all sides.
- → What dipping sauces pair well?
-
Classic tartare sauce, lemon aioli, garlic mayonnaise, or spicy ketchup all complement the corn chip coating beautifully. The salty crunch also works wonderfully with cool yogurt-based dips.
- → Can I use this coating method for other proteins?
-
Absolutely. The same corn chip breading creates delicious chicken strips, pork cutlets, or even cauliflower bites. Adjust cooking times based on protein thickness and type.
- → How do I store leftovers?
-
Refrigerate cooled strips in an airtight container for up to 2 days. Reheat in a 180°C oven for 8-10 minutes to restore crispiness. Avoid microwaving as it makes the coating soggy.