Pin it
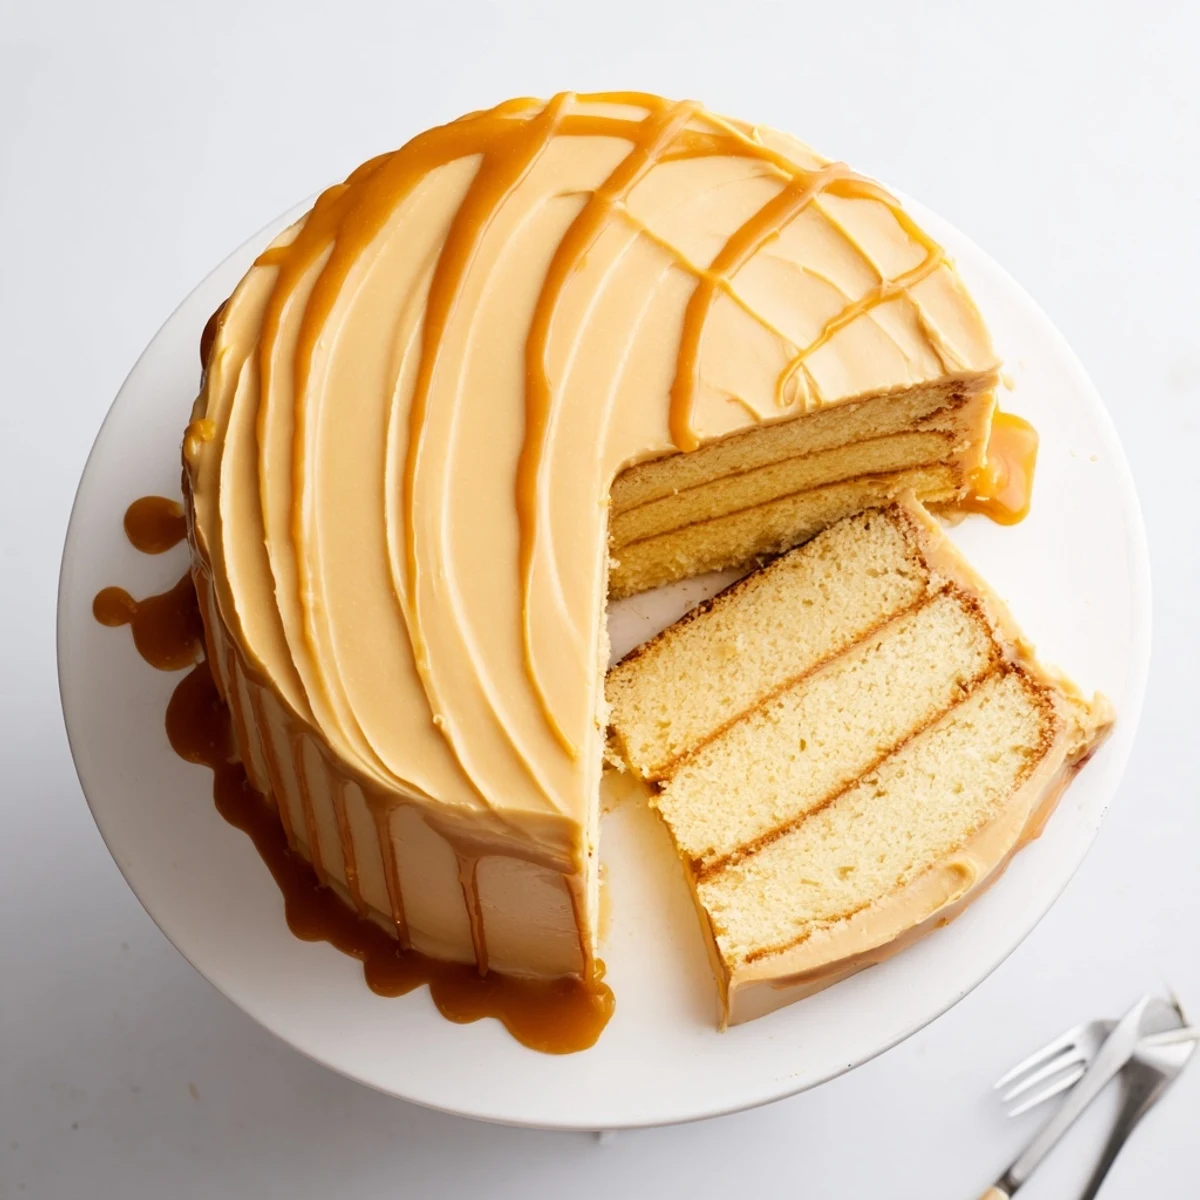
 This indulgent cake features three layers of moist, buttery vanilla sponge complemented by silky caramel frosting and a glossy caramel drizzle. The homemade caramel sauce adds depth and sophistication, while the fluffy frosting creates a luxurious texture throughout each slice.
Perfect for birthdays, holidays, or any celebration worth savoring, this American-style dessert delivers restaurant-quality results at home. The combination of sweet caramel and buttery cake creates a balanced sweetness that pairs beautifully with black coffee or dessert wine.
The first time I attempted caramel from scratch, I nearly burned down my kitchen watching sugar turn from clear to amber to something resembling asphalt in about thirty seconds flat. My grandmother's voice echoed in my head, warning that patience was the secret ingredient I was sprinting past. Three ruined saucepans later, I finally learned to trust the process and now that transformation from plain white crystals to liquid gold feels like pure magic every single time.
I made this cake for my sister's birthday last fall, and watching her eyes widen when she saw those golden caramel drips running down the sides was better than any gift I could have purchased. We ate it standing up in the kitchen, forks in hand, while the rest of the family called from the dining room wondering what was taking so long. Sometimes the best celebrations happen in stolen moments like that, without plates or proper seating, just really good cake and people who love each other.
Ingredients
- All-purpose flour: Provides the structure for this tender cake—sift it first to avoid any lumps in your batter
- Baking powder: Gives the cake its rise without making it dense or heavy
- Salt: Balances the sweetness and enhances all the other flavors
- Unsalted butter: Room temperature butter creates the perfect crumb—softened but not melting is the sweet spot
- Granulated sugar: Sweetens the cake while creating a tender texture through creaming
- Large eggs: Bring structure and moisture—room temperature eggs incorporate more evenly
- Vanilla extract: Pure vanilla adds warmth that pairs beautifully with caramel
- Whole milk: Adds moisture and richness to the batter
- Granulated sugar for caramel: Transforms into that gorgeous amber liquid—use fresh sugar for best results
- Water: Helps dissolve the sugar evenly before it begins to caramelize
- Butter for caramel: Adds richness and helps stop the cooking process
- Heavy cream: Creates that silky smooth texture in your caramel sauce
- Powdered sugar: Sifting prevents lumps in your frosting and ensures silky results
- Prepared caramel sauce: The star flavor in your frosting—make it ahead and let it cool completely
Instructions
- Prep your pans:
- Grease and flour three 8-inch cake pans thoroughly, then line the bottoms with parchment paper for absolutely foolproof removal.
- Whisk the dry ingredients:
- Combine flour, baking powder, and salt in a medium bowl, whisking them together so everything is evenly distributed.
- Cream butter and sugar:
- Beat butter and sugar for 3-4 minutes until the mixture turns pale and fluffy—this creates air pockets that make the cake tender.
- Add eggs and vanilla:
- Beat in eggs one at a time, letting each fully incorporate before adding the next, then add vanilla for that warm aroma.
- Combine wet and dry:
- Alternate adding flour mixture and milk in three additions, starting and ending with flour, mixing just until combined.
- Bake the layers:
- Divide batter evenly among the pans and bake 28-32 minutes until a toothpick comes out clean, then cool 10 minutes before removing.
- Make the caramel magic:
- Combine sugar and water in a heavy saucepan, swirling until dissolved, then cook to amber without stirring—watch closely as it can burn quickly.
- Finish the sauce:
- Remove from heat and carefully whisk in butter, then cream and salt, standing back as it will bubble vigorously.
- Prepare the frosting:
- Beat butter until creamy, gradually add powdered sugar, then mix in cooled caramel sauce, vanilla, and salt until fluffy.
- Assemble your masterpiece:
- Layer cake with generous frosting between each, frost the outside, then drizzle extra caramel over the top and let it cascade down the sides.
- Chill before serving:
- Refrigerate at least 30 minutes for cleaner slices—the flavors also meld beautifully during this time.
 Pin it
 This cake has become my go-to for celebrating milestones both big and small, from promotions to bad weeks that just need ending on a sweet note. Last month, my neighbor smelled the caramel through our shared wall and showed up at my door with two coffee cups, knowing something wonderful was happening in my kitchen. We ended up having an impromptu tasting party right there on the counter, and she's since requested the recipe for her own anniversary dinner.
Making Caramel Without Tears
After my early caramel disasters, I learned that a heavy-bottomed saucepan makes all the difference in distributing heat evenly and preventing hot spots. Swirling the pan instead of stirring keeps sugar crystals from reforming on the sides, which can make your caramel grainy. I also keep an ice bath ready—if the caramel starts getting too dark, I can plunge the bottom of the pan in cold water to stop the cooking instantly.
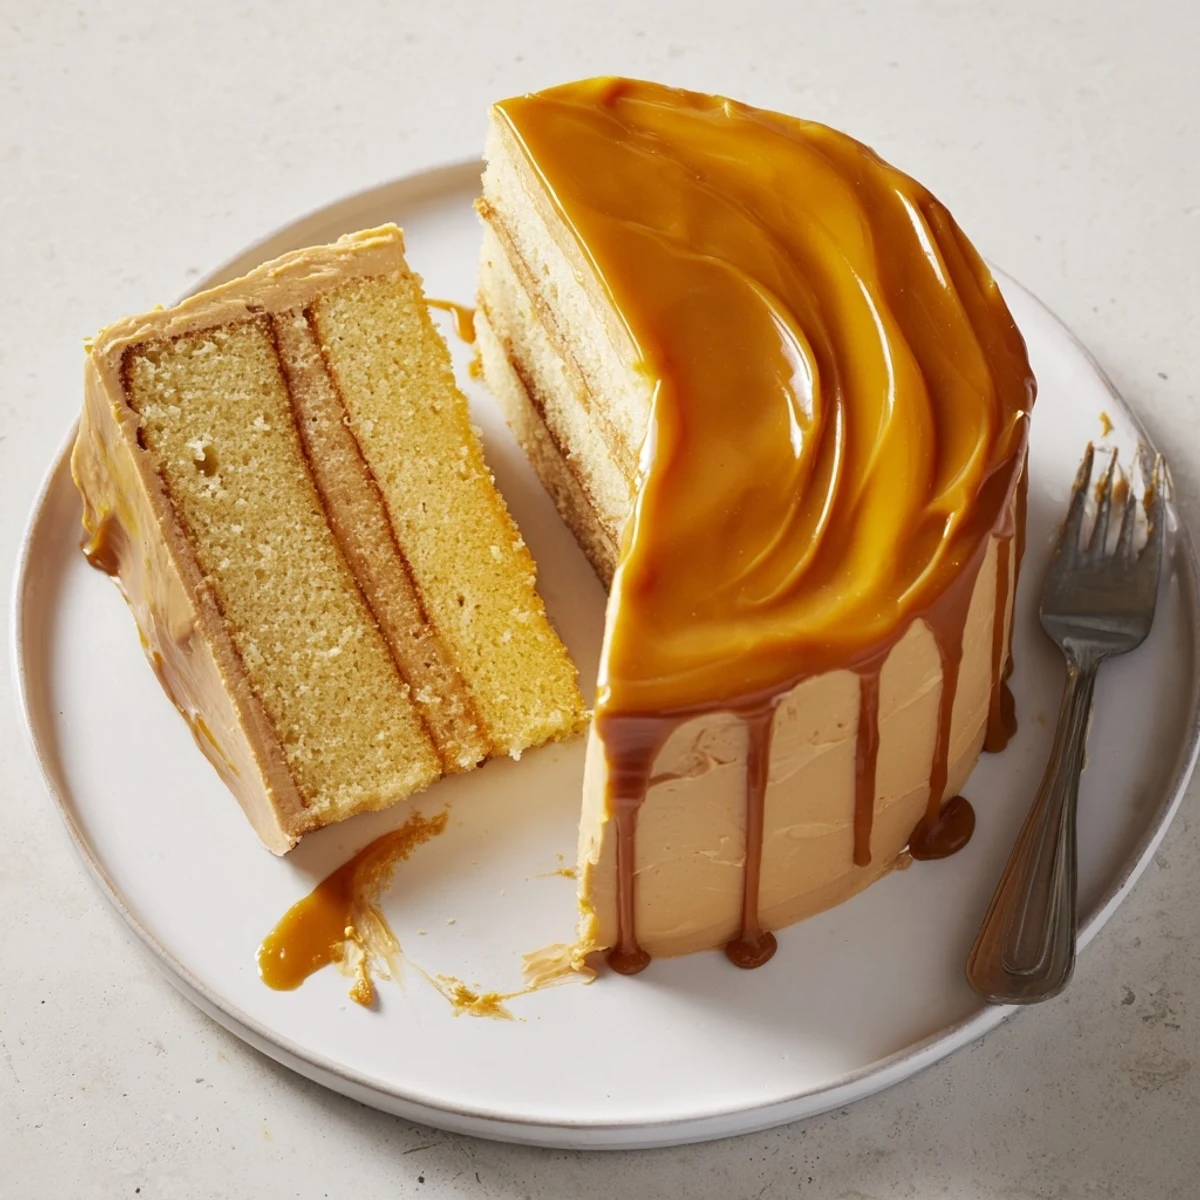
Assembly Tips For The Perfect Slice
When layering your cake, place the first layer rounded-side down to create a flat foundation. I use a small offset spatula to spread frosting to the very edges, then stack the next layer on top rather than dropping it from above. For those Insta-worthy caramel drips, wait until the cake is frosted and chilled, then spoon slightly warmed caramel around the edge and let gravity do the artistic work for you.
Serving Suggestions And Storage
This cake actually tastes better the next day as the caramel flavor deepens and permeates the crumb. Serve it slightly chilled for the cleanest slices, but let it sit at room temperature for about twenty minutes before eating for the best texture and flavor. The frosted cake keeps beautifully in the refrigerator for up to five days, well-wrapped to prevent it from absorbing other flavors.
- Warm individual slices for 15 seconds in the microwave if serving leftovers—the caramel becomes gloriously gooey again
- A pinch of flaky sea salt on top adds a sophisticated salted caramel touch that everyone will notice
- Pair with strong black coffee or a glass of dessert wine to cut through the richness
 Pin it
 There is something deeply satisfying about creating caramel from scratch, transforming simple sugar into something that feels like pure luxury. Share this cake with people who make your life sweeter, and save a slice for yourself—you have certainly earned it.
Recipe FAQs
- → How long does the caramel sauce need to cool before using?
-
Allow the caramel sauce to cool to room temperature, approximately 30–40 minutes, before incorporating it into the frosting or drizzling over the assembled cake.
- → Can I make the layers ahead of time?
-
Yes, bake and cool the cake layers completely, then wrap tightly in plastic wrap and freeze for up to 3 months. Thaw overnight before frosting and assembling.
- → What's the best way to achieve smooth caramel?
-
Swirl the pan gently instead of stirring while the sugar melts. This prevents crystallization and ensures a smooth, glossy caramel sauce every time.
- → How should I store the finished cake?
-
Keep refrigerated in an airtight container for up to 5 days. Bring to room temperature 30 minutes before serving for optimal texture and flavor.
- → Can I use store-bought caramel sauce?
-
While homemade provides the best flavor and texture, high-quality store-bought caramel sauce can substitute in a pinch. Look for brands with natural ingredients and smooth consistency.
- → Why does my caramel sometimes turn grainy?
-
Graininess occurs when sugar crystals form during cooking. Avoid stirring the sugar mixture, and ensure your saucepan is completely clean before beginning to minimize crystallization.