 Pin it
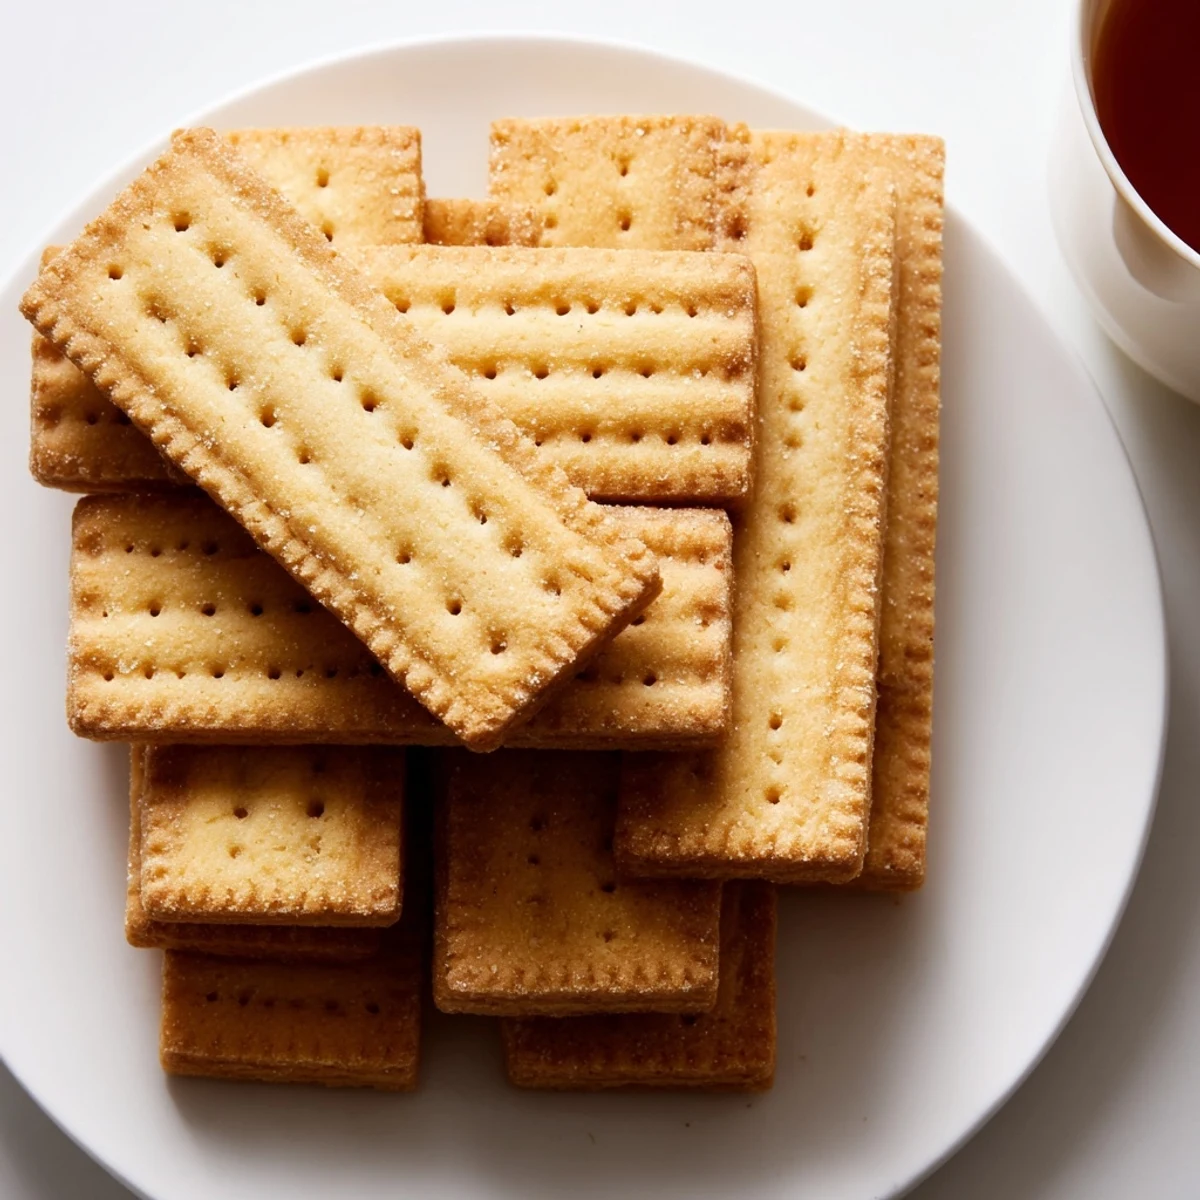
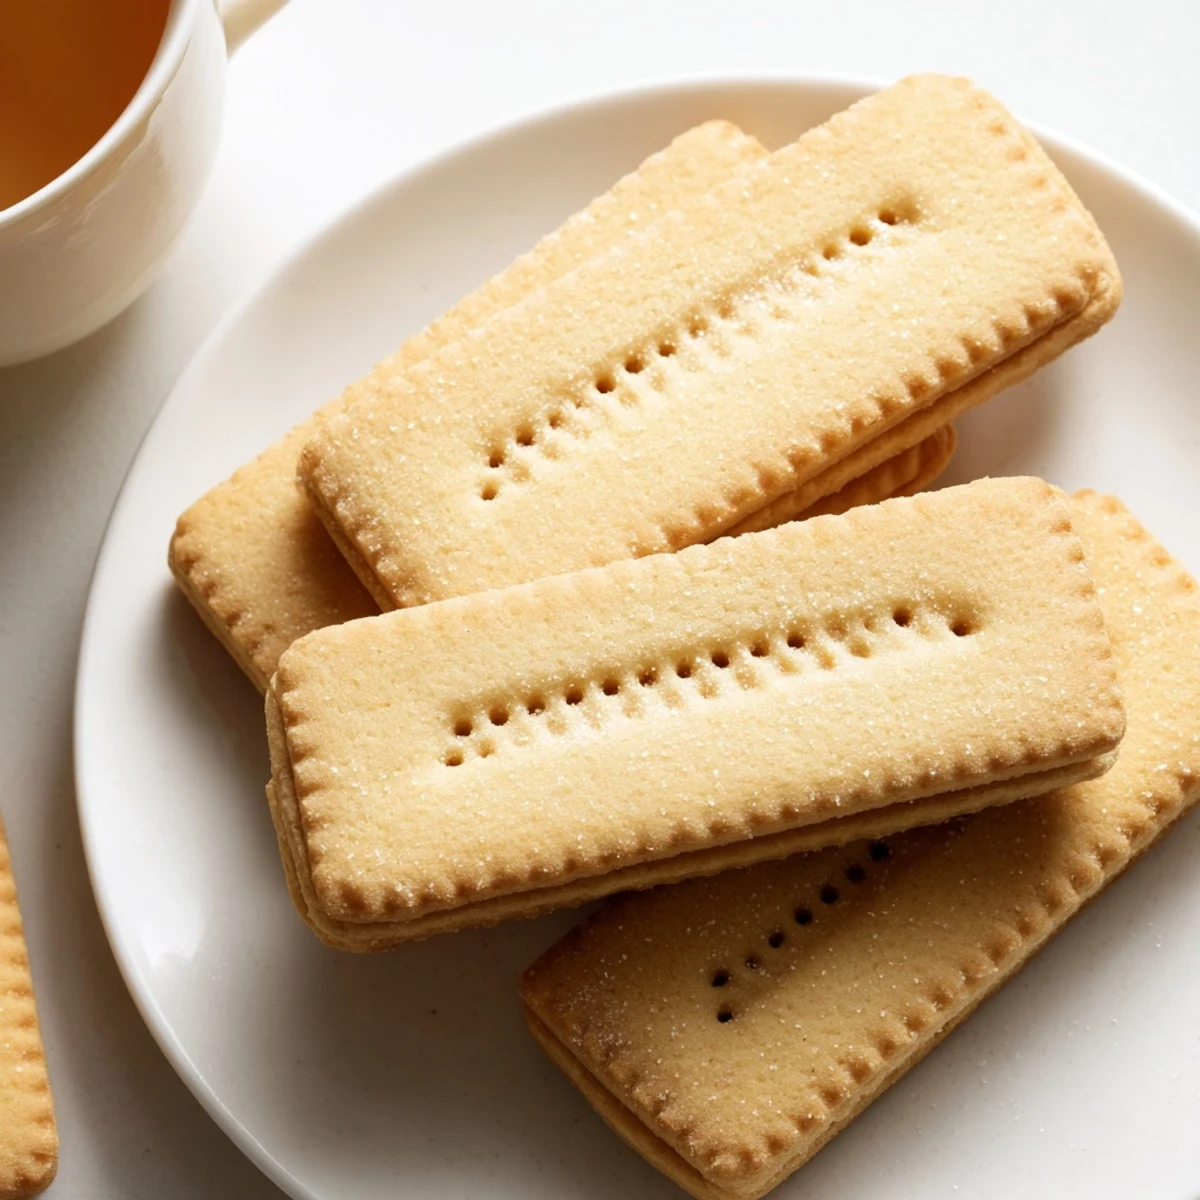
 Le petit beurre est un biscuit français emblématique, reconnaissable à sa forme rectangulaire cannelée et ses petites perforations. Doré et croustillant, il se prépare avec des ingrédients simples : farine, beurre doux, sucre et une touche de vanille.
La pâte, facile à travailler après un repos au réfrigérateur, s'étale finement et se découpe à l'emporte-pièce. Après 12 minutes de cuisson au four, on obtient environ 40 biscuits légers et fondants.
Ils se conservent parfaitement une à deux semaines dans une boîte hermétique, idéaux pour le goûter ou pour accompagner une tasse de thé ou de café.
The butter was browning before I even realized what was happening, and honestly that tiny accident is what made me fall in love with making petit beurre at home. There is something meditative about rolling out that golden dough and stamping out dozens of neat little rectangles, each one destined to become the perfect companion to a steaming cup of tea. These classic French biscuits are crisp, buttery, and deceptively simple, the kind of recipe that rewards patience over skill.
One rainy Saturday I made a double batch and left them cooling on the rack while I ran to the market, and when I came back my daughter had eaten eleven of them standing at the counter, still in her raincoat. She looked at me with powdered sugar on her nose and said they were better than the ones from the bakery, and that sealed it.
Ingredients
- 200 g all purpose flour: Regular flour works beautifully here, no need for anything fancy, though if you can find a French T55 flour it will give you that authentic slightly tender crumb.
- 100 g granulated sugar: White sugar keeps the biscuits pale and crisp, but a light brown sugar swap adds a lovely caramel undertone if you are feeling adventurous.
- 100 g unsalted butter: Good butter is the backbone of this recipe, so use the best you can find, and let it melt gently without browning unless you want a nuttier flavor like my happy accident.
- 50 ml whole milk: Whole milk adds richness and helps bring the dough together, and warm it just slightly so the butter stays melted when you combine them.
- 5 g baking powder (half a packet): Just enough to give the biscuits a slight lift without making them cakey, keeping that signature snap intact.
- 1 pinch of salt: A small pinch goes a long way in butter cookies, balancing the sweetness and making the butter flavor sing.
- 1 vanilla bean (or 1 packet vanilla sugar): Scraping a real vanilla bean into the melted butter mixture fills your kitchen with the most incredible aroma, but vanilla sugar is a perfectly respectable shortcut.
Instructions
- Melt and blend the base:
- Gently warm the butter with the milk in a small saucepan over low heat, stirring until the butter is just melted, then add the sugar and vanilla, stirring until the sugar dissolves completely and the mixture looks silky.
- Cool the wet mixture:
- Let the butter mixture cool until it is just warm to the touch, because adding it too hot to the flour will give you a greasy dough that is hard to handle.
- Bring the dough together:
- Pour the cooled wet mixture into a large bowl and add the flour, baking powder, and salt all at once, stirring with a wooden spoon until a soft homogeneous dough forms and pulls away from the sides of the bowl.
- Rest the dough:
- Shape the dough into a smooth ball, wrap it tightly in plastic wrap, and tuck it into the refrigerator for a full hour so it firms up enough to roll without sticking to everything in sight.
- Preheat the oven:
- Set your oven to 180 degrees Celsius with conventional heat, giving it a good fifteen minutes to reach temperature while the dough finishes chilling.
- Roll and cut:
- Flour your work surface lightly and roll the dough out to an even 3 to 4 millimeter thickness, then use a fluted rectangular cutter to stamp out as many biscuits as you can, rerolling the scraps once.
- Prepare for baking:
- Arrange the cut biscuits on a baking sheet lined with parchment paper, leaving a small gap between each one, then prick every biscuit a few times with a fork for that classic petit beurre look.
- Bake until golden:
- Slide the tray into the oven and bake for exactly 12 minutes, watching closely toward the end because the line between perfectly golden and overbaked is surprisingly thin.
- Cool completely:
- Transfer the biscuits to a wire rack while they are still warm and let them cool completely, during which time they will crisp up into that satisfying snap you want.
 Pin it
 I packed a tin of these biscuits for a long train ride through the countryside last autumn, and sharing them with a stranger in my compartment turned a sleepy journey into one of my favorite conversations about food and home.
Variations Worth Trying
A tablespoon of finely grated lemon zest folded into the dough brightens everything and pairs especially well with afternoon Earl Grey. For something more indulgent, melt dark chocolate and dip half of each cooled biscuit, then set them on parchment until the chocolate sets into a crisp shell.
Storage and Shelf Life
These biscuits keep beautifully in a tightly sealed tin or airtight container at room temperature for one to two weeks, and they actually improve after a day as the texture settles into a perfect crunch. Avoid stacking them directly on top of each other without a layer of parchment in between, because they can stick slightly in humid weather.
Serving Suggestions and Final Thoughts
A plate of petit beurre next to a pot of hot tea is all you need for an instant afternoon break that feels intentional rather than rushed. They also make a wonderful base for tiny ice cream sandwiches, pressed gently around a thin layer of vanilla or strawberry ice cream.
- Warm the biscuits for ten seconds in the microwave if they have softened, and the butter aroma will fill the room all over again.
- Dust the tops very lightly with powdered sugar right before serving for a pretty finish that does not change the flavor.
- Remember that homemade biscuits are meant to look rustic and imperfect, so do not stress over uniformity.
 Pin it
 Once you have made these once, you will find yourself reaching for the butter and flour on quiet afternoons without even thinking about it, because the process is as comforting as the result.
Recipe FAQs
- → Pourquoi faut-il laisser reposer la pâte au réfrigérateur ?
-
Le repos d'une heure au réfrigérateur permet au beurre de se solidifier, ce qui rend la pâte plus ferme et plus facile à étaler sans qu'elle ne colle. Il permet également aux saveurs de se développer et à la pâte de gagner en croustillant à la cuisson.
- → Peut-on remplacer le beurre doux par du beurre salé ?
-
Oui, vous pouvez utiliser du beurre demi-sel ou salé pour donner un léger contraste salé-sucré très apprécié. Dans ce cas, réduisez ou supprimez la pincée de sel indiquée dans les ingrédients pour équilibrer l'assaisonnement.
- → Comment obtenir des biscuits bien réguliers et croustillants ?
-
Étalez la pâte sur une épaisseur uniforme de 3 à 4 mm et utilisez un emporte-pièce rectangulaire cannelé pour des bords nets. Piquez chaque biscuit avec une fourchette pour une cuisson homogène et un croustillant optimal.
- → Comment conserver les petits beurre maison ?
-
Placez-les dans une boîte hermétique à température ambiante, idéalement dans un endroit sec et à l'abri de la lumière. Ils se conservent ainsi une à deux semaines sans perdre leur croustillant ni leur saveur.
- → Quelles variantes peut-on apporter aux petits beurre ?
-
Vous pouvez ajouter une cuillère à soupe de zestes de citron dans la pâte pour une touche d'agrumes. Une autre option consiste à tremper la moitié de chaque biscuit dans du chocolat fondu une fois refroidis, pour une version gourmande et élégante.
- → Peut-on congester la pâte crue pour une utilisation ultérieure ?
-
Oui, la pâte crue se congèle très bien. Emballez-la hermétiquement dans du film alimentaire puis dans un sac de congélation. Elle se conserve jusqu'à 3 mois au congélateur. Laissez-la décongeler au réfrigérateur avant de l'étaler et de la découper.