 Pin it
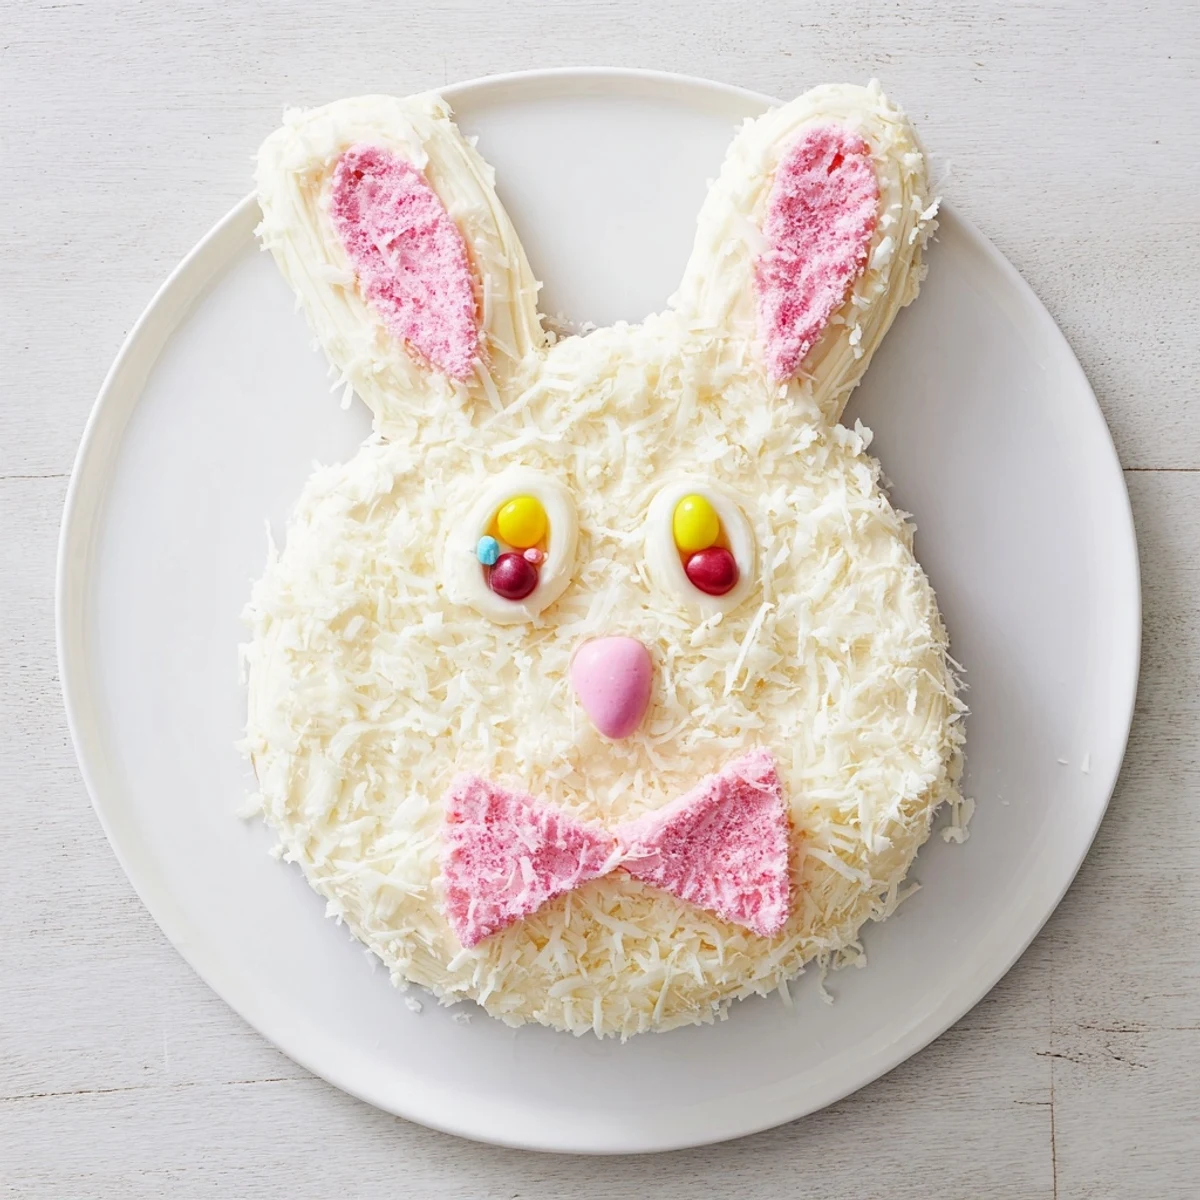
 This charming bunny-shaped cake transforms simple vanilla layers into an adorable Easter centerpiece. Two round cakes are cut and arranged to form a bunny face with ears and bow tie, then generously frosted with creamy buttercream.
The entire surface gets coated in shredded coconut for a fluffy fur effect, while candy and fondant create sweet facial features. It's a fun project that's easier than it looks and guaranteed to delight guests of all ages.
The smell of buttercream always takes me back to my grandmother's kitchen, where she'd let me stand on a wooden chair to watch her transform plain cakes into animals. Her bunny cake was legendary in our family, not because it was perfect, but because she'd laugh every time an ear slid down the frosting or she accidentally used black jelly beans for eyes instead of blue. That sense of playful imperfection is exactly what makes this recipe so wonderful.
One Easter morning, my niece walked into the kitchen while I was arranging the bunny face on a platter and immediately asked if she could place the jelly bean nose. She chose a sparkly pink one that looked ridiculous against the white coconut, and it became my favorite detail on the entire cake.
Ingredients
- All-purpose flour: The backbone of a tender crumb, measured by spooning into the cup rather than scooping directly.
- Baking powder and baking soda: This dual leavening combo gives the cake lift without making it taste metallic.
- Granulated sugar: Regular white sugar works best here since brown sugar would darken the cake.
- Unsalted butter: Softened butter creams more easily and lets you control the salt level precisely.
- Eggs: Large eggs at room temperature incorporate smoothly into the batter for even rising.
- Whole milk: The fat content creates richness that skim milk simply cannot achieve.
- Vanilla extract: Do not skimp on quality here since vanilla is the primary flavor.
- Powdered sugar: Sifting prevents lumps in your frosting and keeps it silky smooth.
- Shredded sweetened coconut: Presses easily into frosting and mimics fluffy bunny fur perfectly.
- Fondant or marshmallows: Creates structured ear shapes that hold up at room temperature.
- Jelly beans: Pick colors that match your vision and press gently into the coconut.
Instructions
- Prep the oven and pans:
- Heat your oven to 350°F and generously grease both round pans with butter, dusting with flour to prevent sticking.
- Whisk dry ingredients:
- Combine flour, baking powder, baking soda, and salt in a bowl, whisking until evenly distributed.
- Cream butter and sugar:
- Beat softened butter with sugar until the mixture looks pale and fluffy, about three minutes of mixing.
- Add eggs and vanilla:
- Crack in eggs one at a time, beating fully after each addition, then pour in the vanilla and mix.
- Combine wet and dry:
- Alternate adding flour mixture and milk to your butter mixture, starting and ending with flour for tenderness.
- Bake the layers:
- Divide batter evenly between pans and bake for 22 to 25 minutes until a toothpick slides out clean.
- Cool completely:
- Let cakes rest in pans for ten minutes, then flip onto wire racks and wait until fully cool before frosting.
- Make the buttercream:
- Beat butter until creamy, then gradually add powdered sugar, vanilla, salt, and milk until spreadable.
- Shape the bunny:
- Keep one cake round whole for the face, then cut the second into ear shapes and a small bow tie piece.
- Arrange on platter:
- Position the face, ears, and bow tie on your serving tray before any frosting touches the cake.
- Apply crumb coat:
- Spread a thin frosting layer over all pieces to lock in crumbs, then chill for twenty minutes.
- Frost and add coconut fur:
- Cover the entire cake with remaining frosting and immediately press coconut into the surface.
- Create pink ear details:
- Mix a drop of pink coloring into a small coconut portion and gently press onto the inner ear sections.
- Add facial features:
- Position fondant or marshmallows for ears and press jelly beans into place for eyes, nose, and decorations.
 Pin it
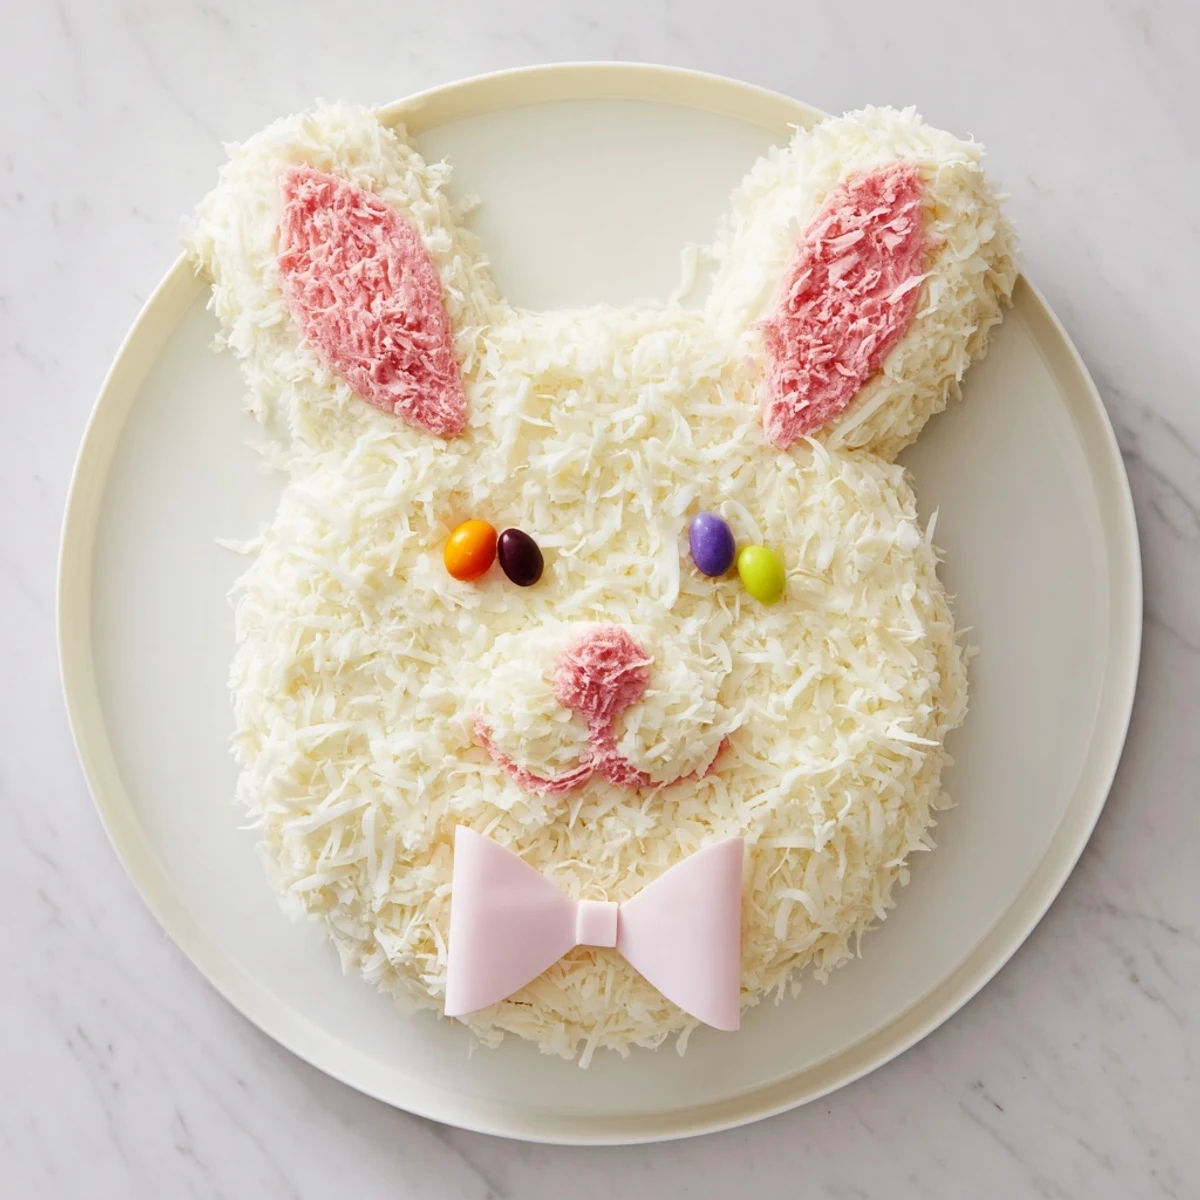
 The moment everyone gathers around the table and someone notices the bunny face for the first time makes every minute of assembly worth it.
Storage and Make Ahead Tips
This cake stays fresh covered at room temperature for up to two days, though the coconut stays fluffier if you refrigerate it. For longer storage, the frosted cake keeps well in the refrigerator for up to four days, but bring it to room temperature before serving for the best texture and flavor.
Fun Variations to Try
Chocolate lovers can swap the vanilla cake for a chocolate version using the same mixing method and baking time. Store-bought frosting saves at least fifteen minutes if you are short on time, and licorice strips make excellent whiskers that hold their shape better than piped frosting lines.
Serving Suggestions
This whimsical dessert deserves a centerpiece spot on any spring celebration table, surrounded by fresh flowers or pastel candies for extra festivity.
- Serve with sparkling lemonade or a lightly sweet Moscato for adults.
- Let children customize their slice with extra jelly beans on the side.
- Snap a photo before cutting since the bunny face only lasts until the first slice.
 Pin it
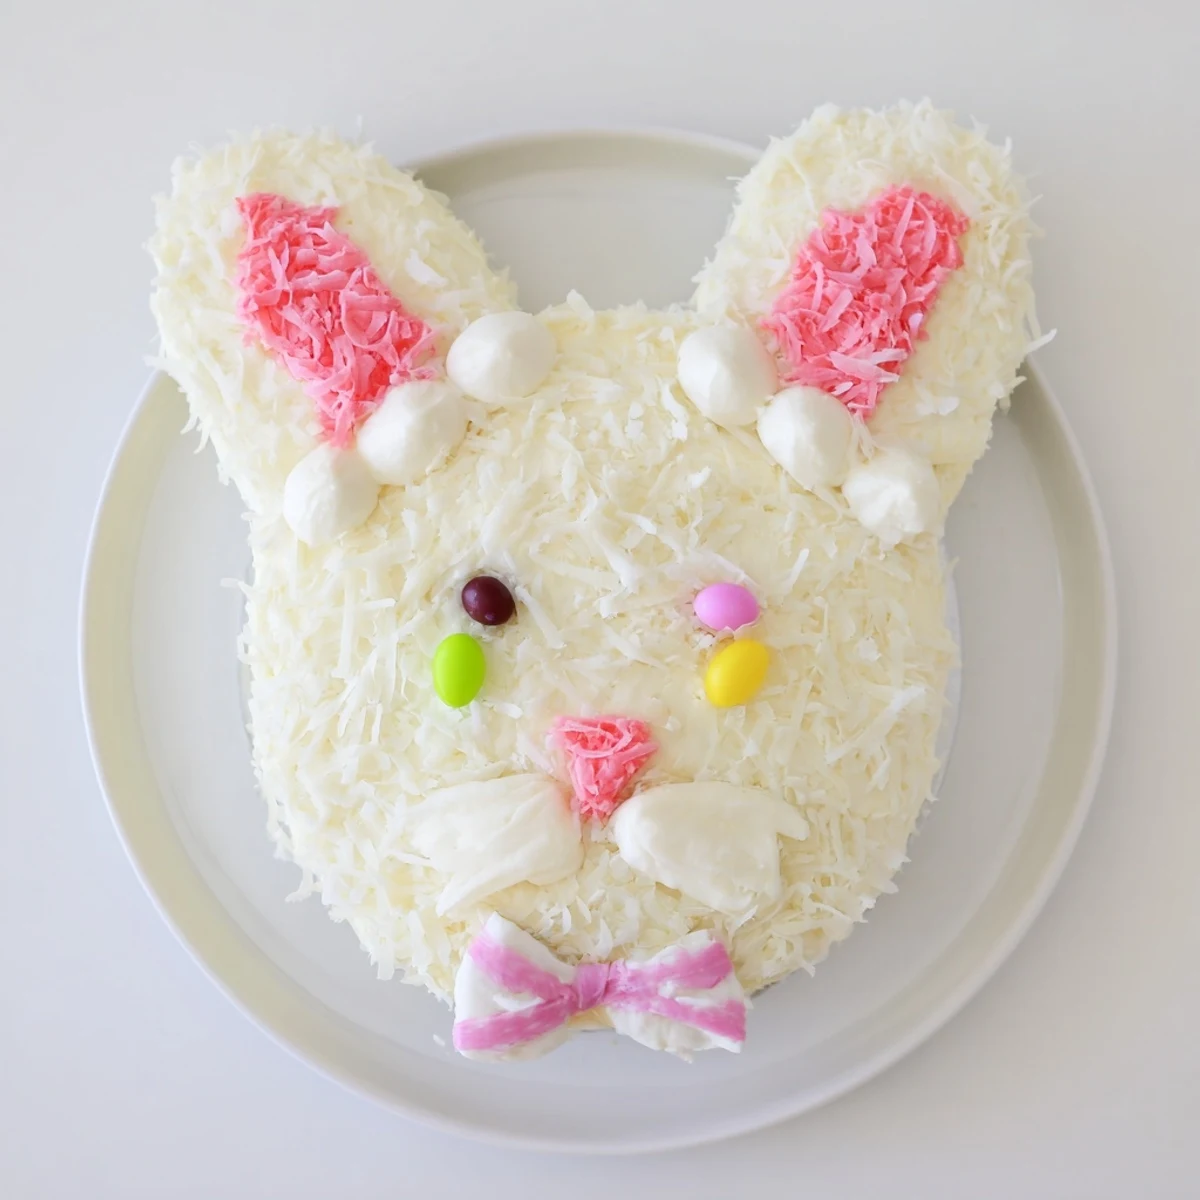
 Whether you make this for Easter, a birthday, or just because it is Tuesday, the bunny cake brings joy to any table it graces.
Recipe FAQs
- → How far in advance can I make this bunny cake?
-
You can bake the cake layers up to two days ahead and store them wrapped at room temperature. Frost and decorate the day before serving for best results, keeping it covered in the refrigerator.
- → Can I use boxed cake mix instead of scratch?
-
Absolutely! A standard yellow or white cake mix works perfectly for this project. Just follow package directions for two round layers, then proceed with shaping and decorating as outlined.
- → What can I substitute for coconut on the frosting?
-
If you're not a coconut fan, try using white chocolate shavings, sprinkles, or tinted buttercream piped with a grass tip to create fur texture. Crushed vanilla wafers also work nicely.
- → How do I transport this cake to a party?
-
Place the fully decorated cake on a sturdy cake board and box. Keep it chilled until transport, then drive carefully with the cake on a flat surface. Consider decorating at your destination if traveling far.
- → Can I make this cake gluten-free or dairy-free?
-
Yes! Use your favorite gluten-free flour blend in place of regular flour. For dairy-free, substitute plant-based butter and milk alternatives. Results may vary slightly but still delicious.