 Pin it
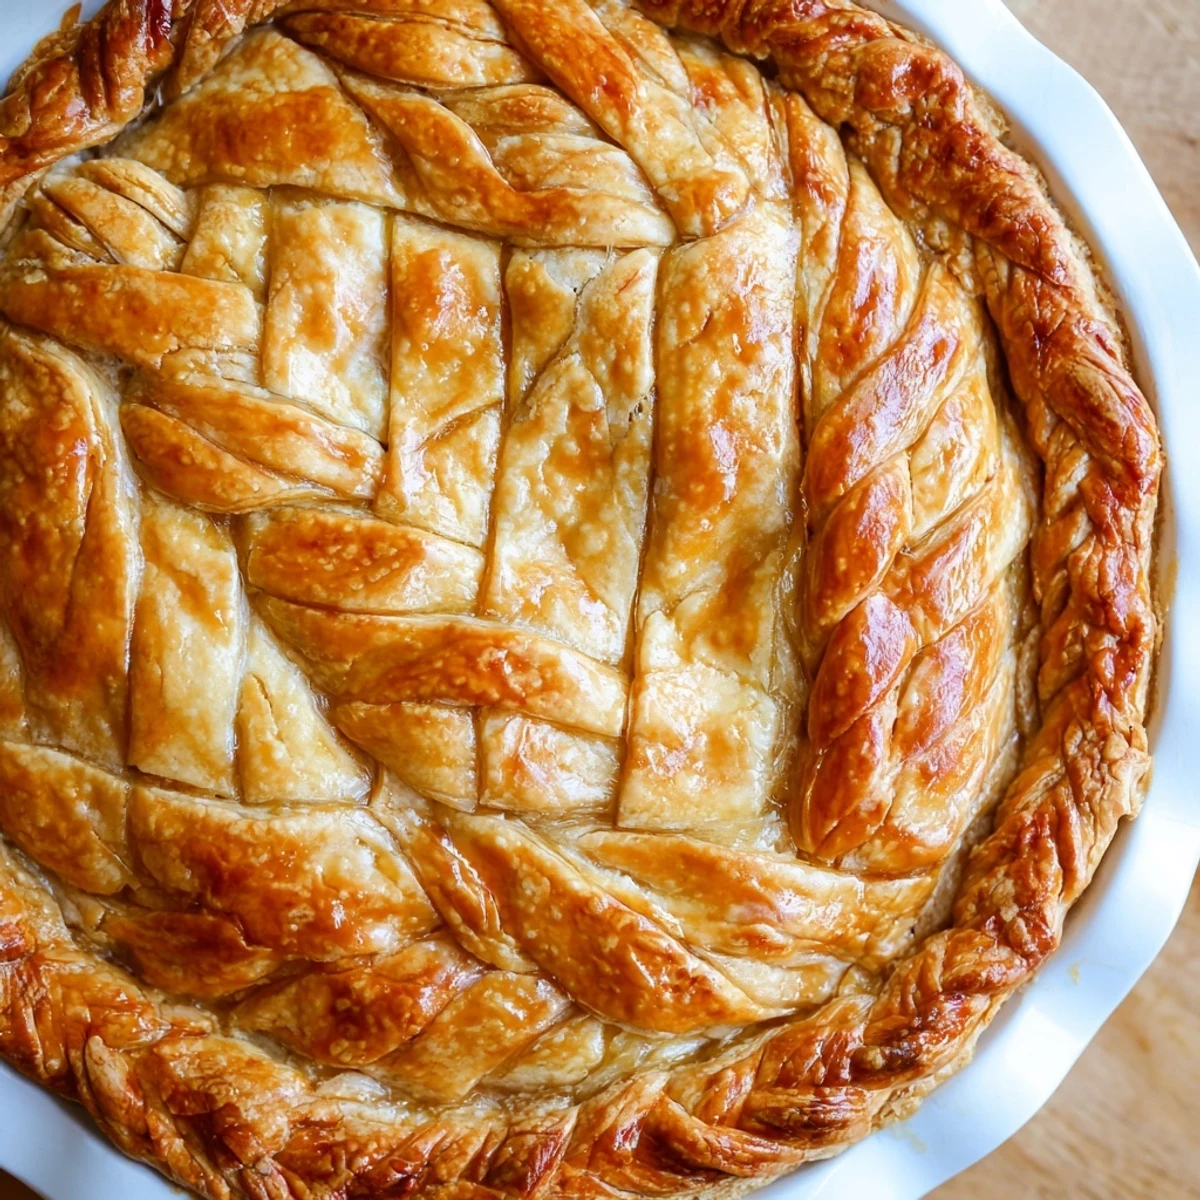
 Transform ordinary pies into stunning showstoppers with this fishtail braid crust technique. The method involves preparing a classic butter pastry dough, rolling it into strips, and weaving four strands together in a distinctive fishtail pattern. This decorative edge creates a professional bakery appearance that works beautifully with fruit fillings, custards, or savory ingredients. The process takes about 45 minutes from start to finish and yields enough crust for one 9-inch pie. With proper chilling and blind baking, the braided edge becomes golden and crisp while maintaining its intricate woven shape.
Last Thanksgiving, I decided my pumpkin pie needed something extra. After watching countless pastry tutorials late into the night, I attempted my first fishtail braid border. My kitchen was covered in flour, my fingers were sticky, and I nearly gave up twice. But when that pie emerged from the oven with its golden woven crown, the entire table went quiet.
My sister-in-law actually asked if I bought the crust from a fancy bakery. That moment of watching my family slice through something I created with my own hands felt incredible. Now I make this braided crust for birthdays, holidays, and random Tuesdays when I need baking therapy.
Ingredients
- 2 1/2 cups all-purpose flour: The foundation of everything beautiful and flaky
- 1 cup cold unsalted butter: Cold butter creates those tender layers we all dream about
- 1 tsp salt: Because pastry needs a little personality
- 1 tbsp sugar: Just enough to balance without making it sweet
- 6-8 tbsp ice water: The magic ingredient that brings everything together
- 1 egg beaten: For that professional golden shine
Instructions
- Mix your foundation:
- Whisk flour, salt, and sugar in a large bowl until combined
- Cut in the butter:
- Work cold butter into flour until you see coarse crumbs with some pea-sized butter pieces remaining
- Bring it together:
- Add ice water gradually, mixing gently until dough just forms when pressed
- Rest the dough:
- Divide into two discs, wrap tightly, and chill for at least one hour
- Prepare your base:
- Roll one disc to fit your pie plate, press in gently, trim edges, and chill
- Create your strips:
- Roll second disc to 1/4 inch thickness and cut twelve even strips about 1/2 inch wide
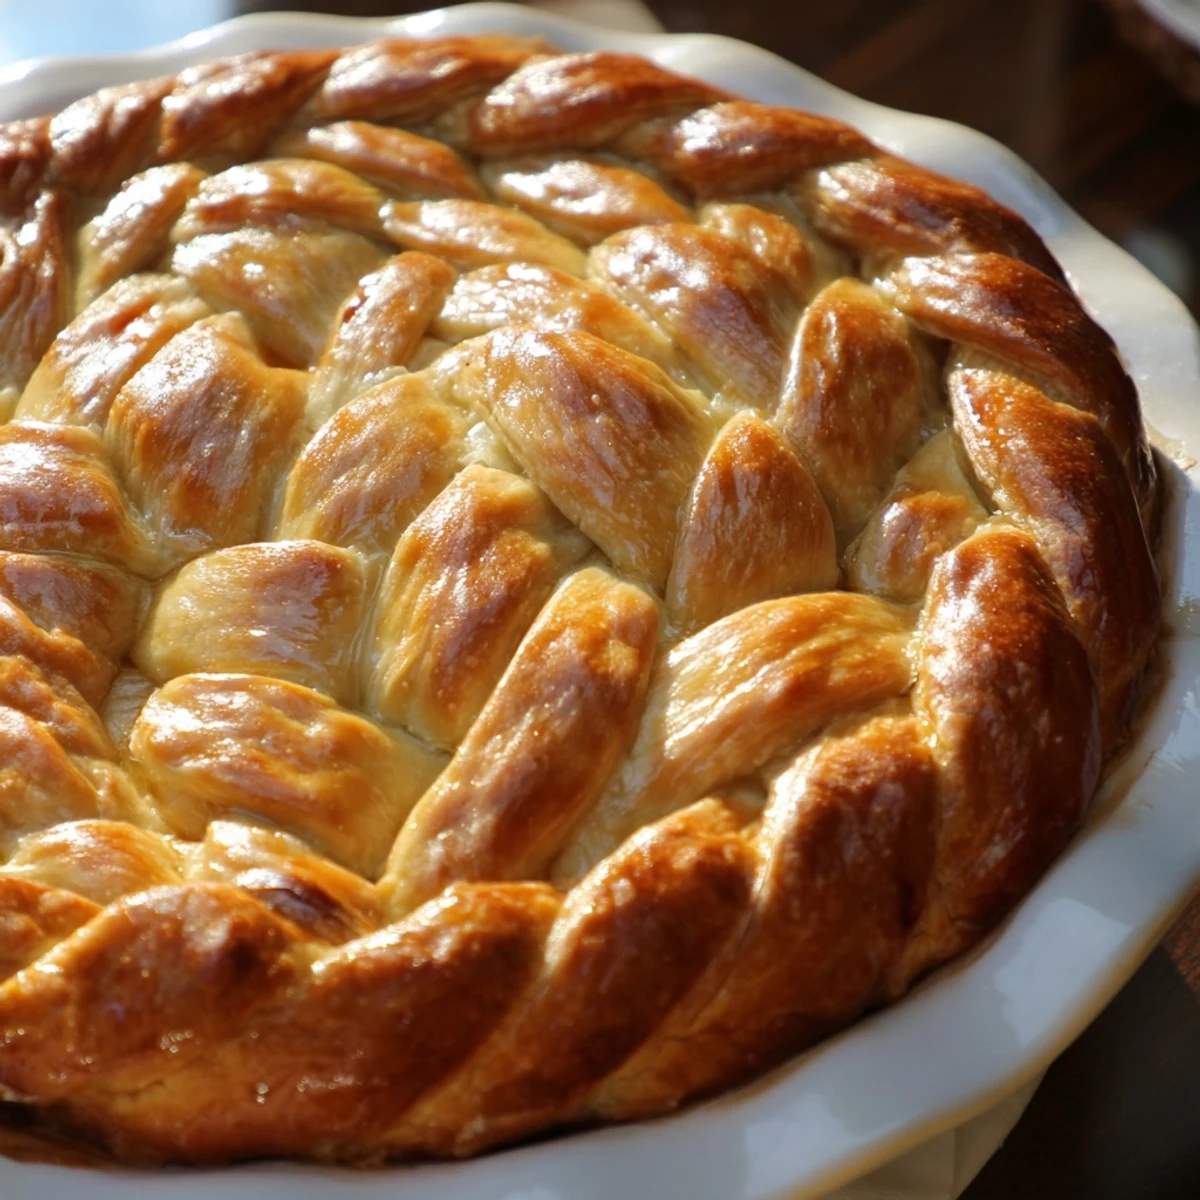
- Master the fishtail:
- Group strips into sets of four, pinch tops together, and cross left-most strip over, under, over repeatedly
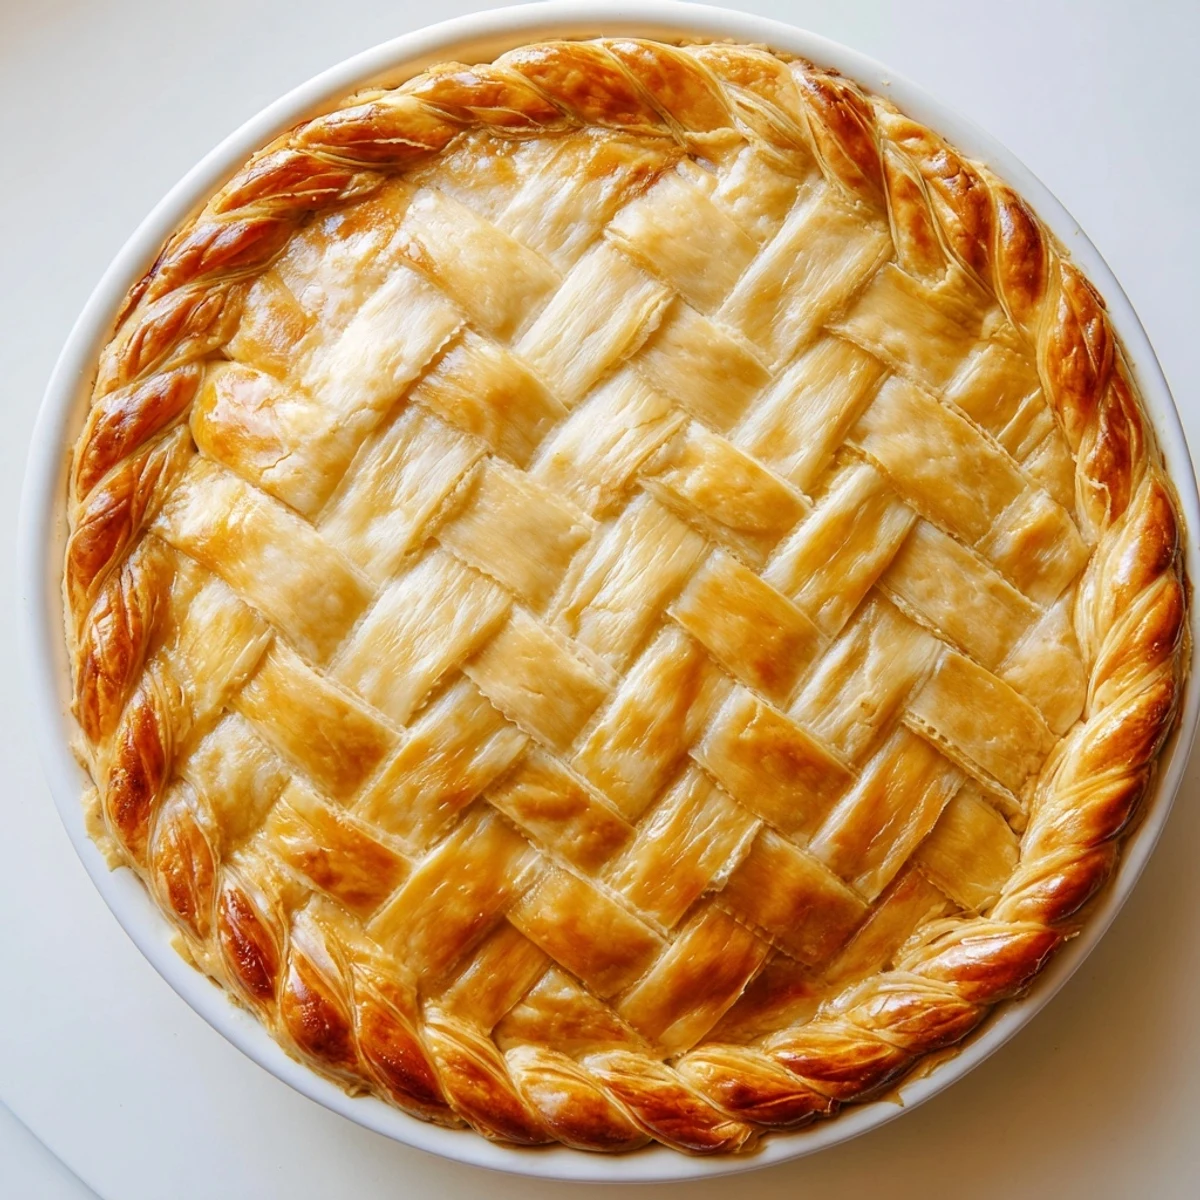
- Apply your braid:
- Transfer braids to chilled pie edge, press gently to seal, trim any excess
- Chill again:
- Refrigerate 15 minutes while preheating oven to 400°F
- Make it golden:
- Brush with egg wash, blind bake 12-15 minutes until beautifully golden
 Pin it
 That first pie became the start of a new tradition in our house. Now everyone expects the braided crust, and Ive actually started timing my braiding speed. Its become my meditation.
Working With Temperature
Butter temperature makes or breaks pastry dough. I keep my butter in the freezer and grate it into flour when Im short on time. The shreds incorporate quickly without warming up. Your hands should work fast too, treating the dough like something that might melt.
Braading Confidence
The fishtail pattern looks intimidating but follows a simple rhythm. I practice on four strips of paper before touching my dough. Muscle memory takes over after a few repetitions, and suddenly your hands know what to do even when your brain doesnt.
Storage And Timing
Dough freezes beautifully for up to three months. I always make double batches now because the effort deserves the reward. Thawed dough braids just as well as fresh, and nobody will know the difference.
- Wrap dough discs tightly in plastic before freezing
- Thaw overnight in the refrigerator, never on the counter
- Brush egg wash carefully so it doesnt pool between braids
 Pin it
 Every time I pull a braided pie from the oven, I remember that first nervous attempt. Now I cant imagine making pie any other way.
Recipe FAQs
- → What makes fishtail braiding different from regular braiding?
-
Fishtail braiding uses four strands instead of three, creating a flatter, wider pattern that resembles a fish's tail. The weaving technique alternates crossing the leftmost strand over, under, and over adjacent strips, producing a distinctive herringbone-like texture perfect for pastry edges.
- → Can I make this crust ahead of time?
-
Yes, prepare the dough discs and refrigerate up to 2 days or freeze for 3 months. Thaw frozen dough overnight in the refrigerator before rolling and braiding. The completed braided crust can also be assembled, covered tightly, and chilled for several hours before baking.
- → Why is chilling the dough important?
-
Cold dough prevents the butter from melting prematurely, ensuring flaky layers and maintaining the braid's shape during baking. Chill after placing dough in the plate, again after attaching braids, and once more before applying egg wash for best results.
- → What fillings work best with this decorative crust?
-
This versatile crust complements both sweet and savory fillings. Apple, cherry, berry pies, pumpkin custard, and lemon meringue showcase beautifully. For savory options, try chicken pot pie, quiche Lorraine, or vegetable tart fillings. The braid holds its shape regardless of filling type.
- → How do I prevent the braids from separating during baking?
-
Brush the pie edge with water before pressing braids onto the crust to create a strong seal. Pinch braided ends gently where they meet. Proper chilling before baking is essential—15 minutes in the freezer helps the butter solidify, ensuring the design stays intact while baking.
- → Can I use store-bought dough?
-
While homemade dough yields the best flavor and texture, refrigerated pie dough can work in a pinch. Roll it slightly thinner than usual and ensure it's thoroughly chilled before cutting strips. The braid may be less defined but still creates an attractive finished appearance.