
 Pin it
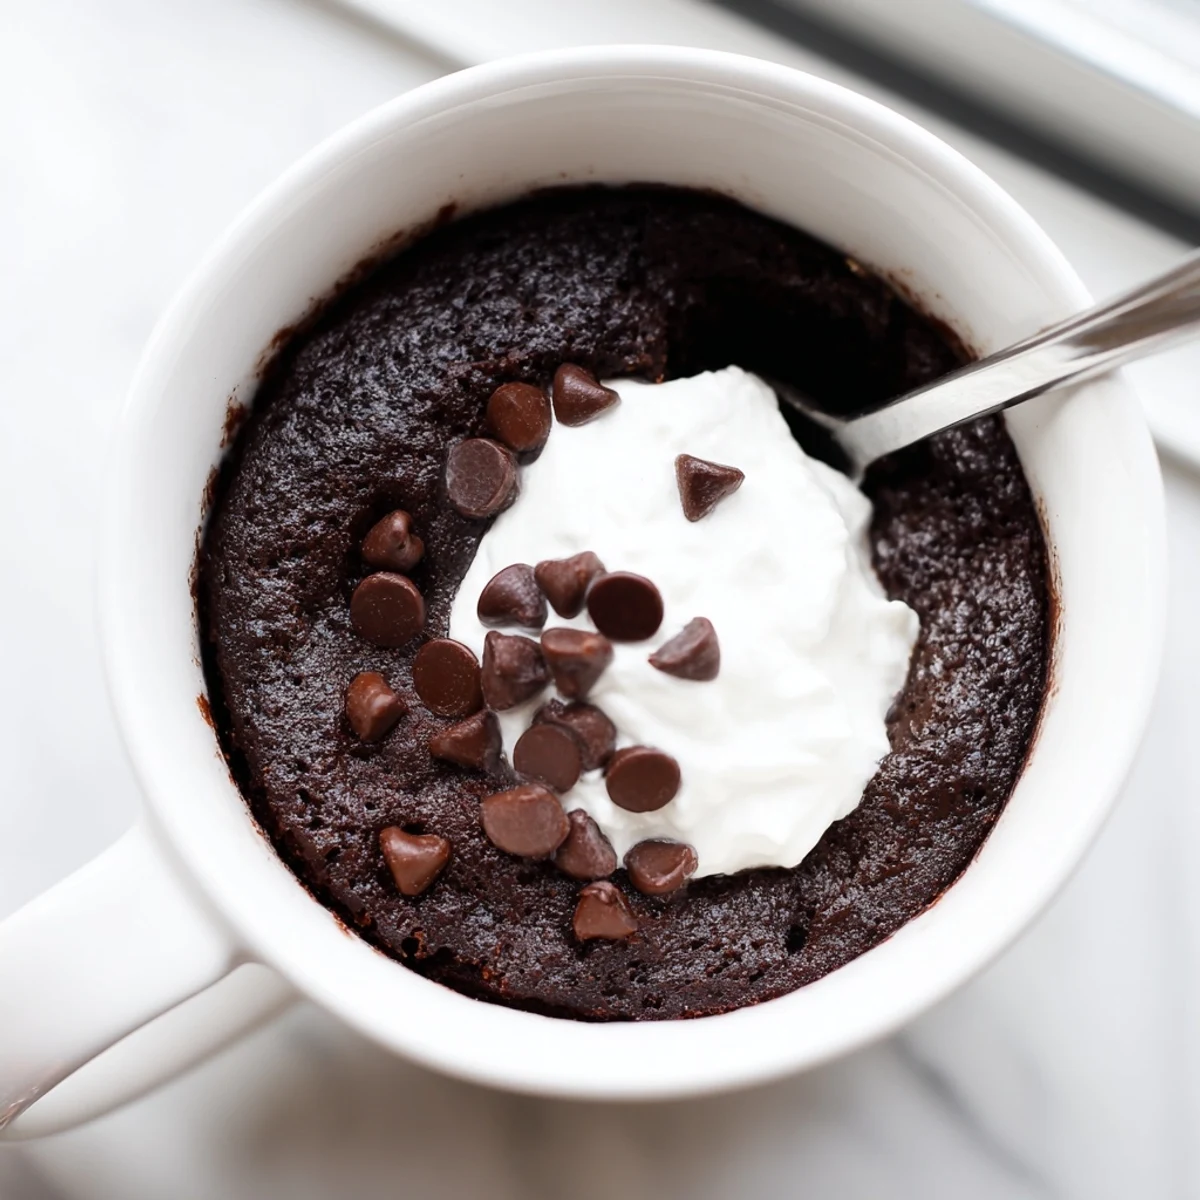
 This gluten-free chocolate mug cake is the ultimate quick-fix dessert for anyone avoiding gluten. It uses a simple blend of gluten-free flour, cocoa powder, sugar, and pantry staples whisked directly in a microwave-safe mug.
In under two minutes of microwaving, you get a moist, fudgy chocolate cake with a tender crumb that rivals any oven-baked version. Add chocolate chips for extra indulgence, or top with whipped cream or ice cream.
It's perfectly portioned for one, requires minimal cleanup, and adapts easily to dairy-free diets by swapping the milk for almond, oat, or soy alternatives.
There is something almost rebellious about making cake in a mug at midnight, standing in the dim glow of the kitchen microwave, watching it puff and rise through the glass like a tiny chocolate volcano. My sister caught me doing it once during a holiday visit and stood there arms crossed, skeptical, until I handed her a spoon and she stopped talking entirely. That is the power of a good mug cake: it converts nonbelievers in under two minutes flat.
I have made this in hotel rooms with nothing but a coffee mug and a fork stolen from the breakfast buffet, and it still turned out beautifully. The trick is treating those few ingredients with a little care rather than dumping and hoping for the best. Even my nephew, who normally rejects anything labeled gluten free, asks for this one by name now.
Ingredients
- Gluten-free all-purpose flour blend (3 tbsp): The backbone of the cake, and you want a blend that already contains xanthan gum so you do not have to add it separately. Spoon and level it gently because packed flour turns mug cake into mug brick.
- Unsweetened cocoa powder (2 tbsp): Use a good quality one if you can because there are so few ingredients that each one really shows. Dutch-processed gives a deeper darker flavor but natural cocoa works beautifully too.
- Granulated sugar (3 tbsp): This sweetens the cake without making it cloying, and helps form that slightly crisp top edge I love.
- Baking powder (1/4 tsp): Just enough lift to keep it light but still dense and fudgy in the center.
- Salt (pinch): Never skip this because salt makes chocolate taste like itself amplified.
- Milk, dairy or non-dairy (3 tbsp): Any milk works here from oat to almond to whole, so use what you have.
- Vegetable oil or melted coconut oil (2 tbsp): Oil keeps the cake moist in a way butter cannot match at microwave speed, and coconut oil adds a subtle sweetness.
- Pure vanilla extract (1/4 tsp): A tiny amount that rounds out the chocolate and makes the whole thing taste finished rather than rushed.
- Chocolate chips (2 tbsp, optional): These melt into little pockets of goo throughout the cake and I highly recommend them unless you are a purist who prefers a clean crumb.
Instructions
- Build the dry foundation:
- Drop the flour, cocoa powder, sugar, baking powder, and salt straight into a microwave safe mug holding at least 12 ounces and whisk them together with a fork until you see no lumps or pale streaks. Take ten seconds to really get into the corners because cocoa powder loves to hide along the bottom edge.
- Add the wet ingredients:
- Pour in the milk, oil, and vanilla, then stir vigorously with your fork, scraping down the sides and bottom repeatedly until the batter turns glossy and smooth with no dry pockets remaining. You want it to look like a proper cake batter, not a lumpy soup, so do not be afraid to put some wrist into it.
- Fold in the chocolate chips:
- Scatter the chips across the top of the batter and fold them in gently with two or three strokes so they distribute without all sinking to the bottom. A few on top is actually ideal because they get slightly toasted and gooey during microwaving.
- Microwave with intention:
- Set the mug on a small plate in case of overflow and microwave on high for exactly one minute, then peek at the center. It should look set around the edges but still have a slight wobble in the middle, and if it does not, give it ten more seconds but no more because overcooked mug cake becomes tragically dry.
- Let it rest briefly:
- Allow the cake to sit for one to two minutes before digging in because it continues cooking from residual heat and the texture improves dramatically with that short pause. The mug will be hot so handle it carefully and maybe grab a spoon and a napkin.
 Pin it
 The night my friend Hannah was going through a terrible breakup, I texted her this recipe from across the country and she made it while crying on her kitchen floor, then called me laughing with chocolate on her face saying it was the best decision she had made all week. Food does that sometimes, even the simplest versions of it.
Variations Worth Trying
A teaspoon of espresso powder mixed into the dry ingredients transforms this from a good chocolate cake into something that tastes startlingly adult and complex. I have also swirled a tablespoon of peanut butter through the batter before microwaving and the result is a marbled, gooey thing that borders on dangerous. For a mint lover, a single drop of peppermint extract alongside the vanilla does wonders without overwhelming.
Serving It Right
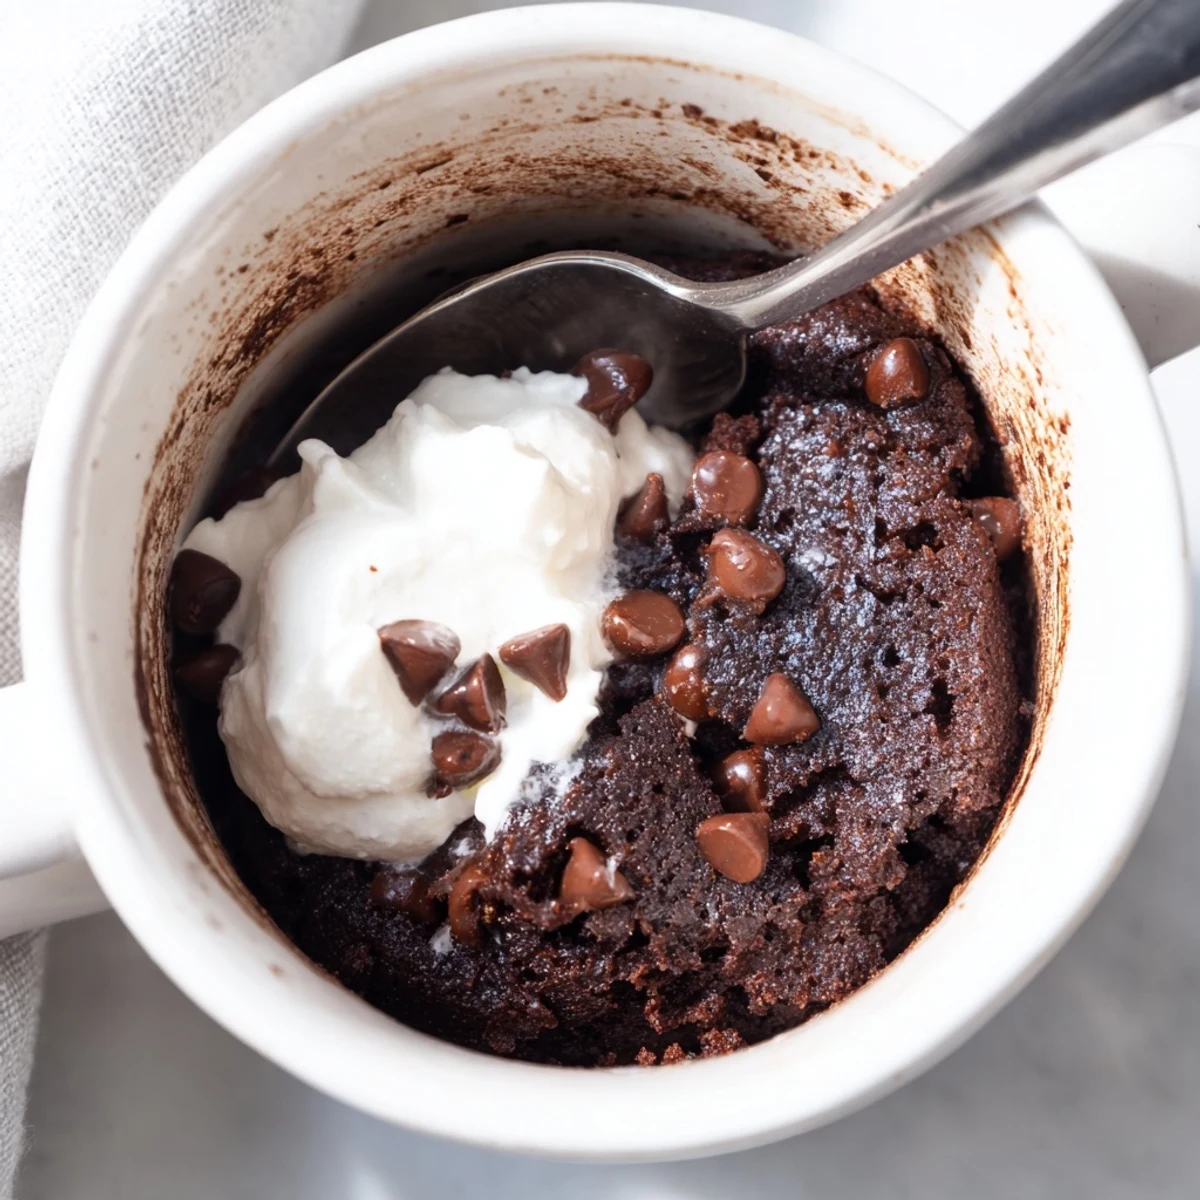
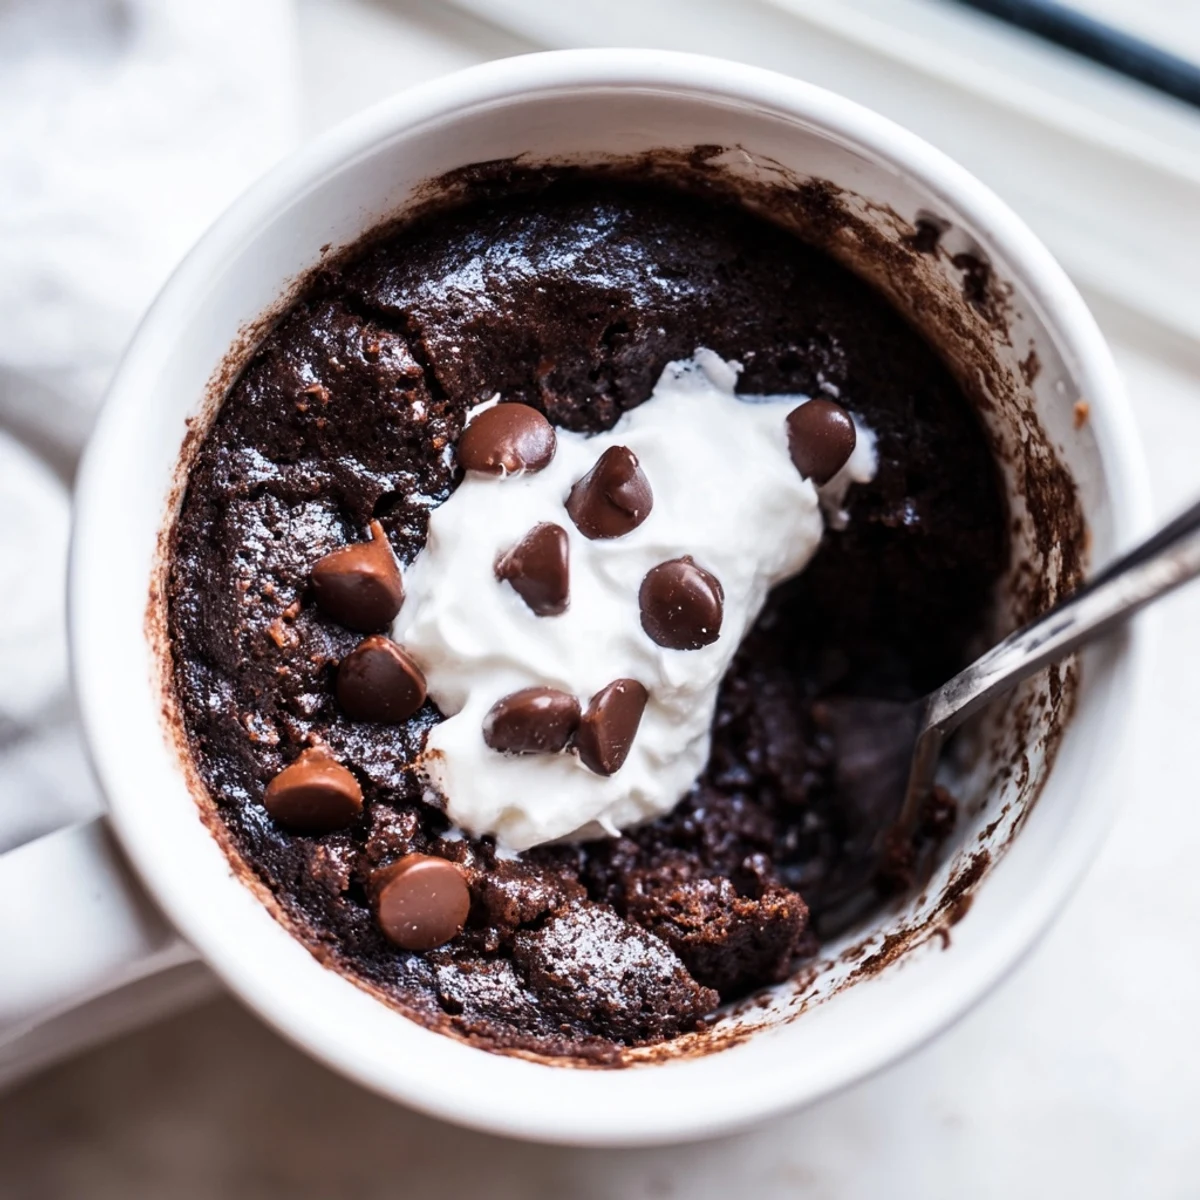
Eating it straight from the mug with a spoon is perfectly acceptable and honestly part of the charm, but if you want to dress it up, a scoop of vanilla ice cream melting on top takes it into dessert territory that feels planned rather than improvised. Whipped cream and a sprinkle of extra cocoa powder on top makes it look like you tried harder than you did. Cold leftover mug cake, if such a thing exists in your house, is surprisingly fudgy and excellent with coffee the next morning.
Storage and Leftovers
This is a single serving situation by design, meant to be made and eaten in the same five minute window. If you somehow have leftovers, cover the mug with a small plate and it will keep at room temperature for a day, though the texture shifts from cakey toward truffle-like, which some people actually prefer.
- Do not refrigerate it because the microwave solidifies the oil and leaves the cake greasy and sad.
- You can mix the dry ingredients in the mug ahead of time and cover it for a quick late night assembly line.
- Always reheat leftover cake for just fifteen seconds to bring back some of that fresh warmth.
 Pin it
 Keep this recipe in your back pocket for rainy evenings, long days, or any moment that calls for chocolate without a production number. It will never let you down.
Recipe FAQs
- → Can I make this mug cake dairy-free?
-
Yes, simply substitute the milk with almond, oat, or soy milk and use dairy-free chocolate chips. Coconut oil works as a great replacement for vegetable oil as well.
- → Why did my mug cake turn out rubbery?
-
Overcooking is the most common cause. Microwave in 10-second increments after the first minute and stop while the center is still slightly moist—it will continue to set as it cools.
- → What gluten-free flour blend works best?
-
A basic gluten-free all-purpose flour blend that includes a binder like xanthan gum yields the best texture. Avoid single-flour substitutions like almond or coconut flour, as they behave differently.
- → Can I bake this in the oven instead of microwaving?
-
Yes, transfer the batter to a ramekin and bake at 350°F (175°C) for about 12-15 minutes. The texture will be slightly different but still delicious and fudgy.
- → How should I store leftovers?
-
Mug cakes are best enjoyed immediately. If needed, cover the mug with plastic wrap and store at room temperature for up to a day. Reheat briefly in the microwave for 10-15 seconds to soften.
- → Can I double the ingredients for a larger portion?
-
You can double the batter and split it between two mugs or use a larger microwave-safe bowl. Avoid overfilling a single mug, as the batter rises during cooking and could overflow.