 Pin it
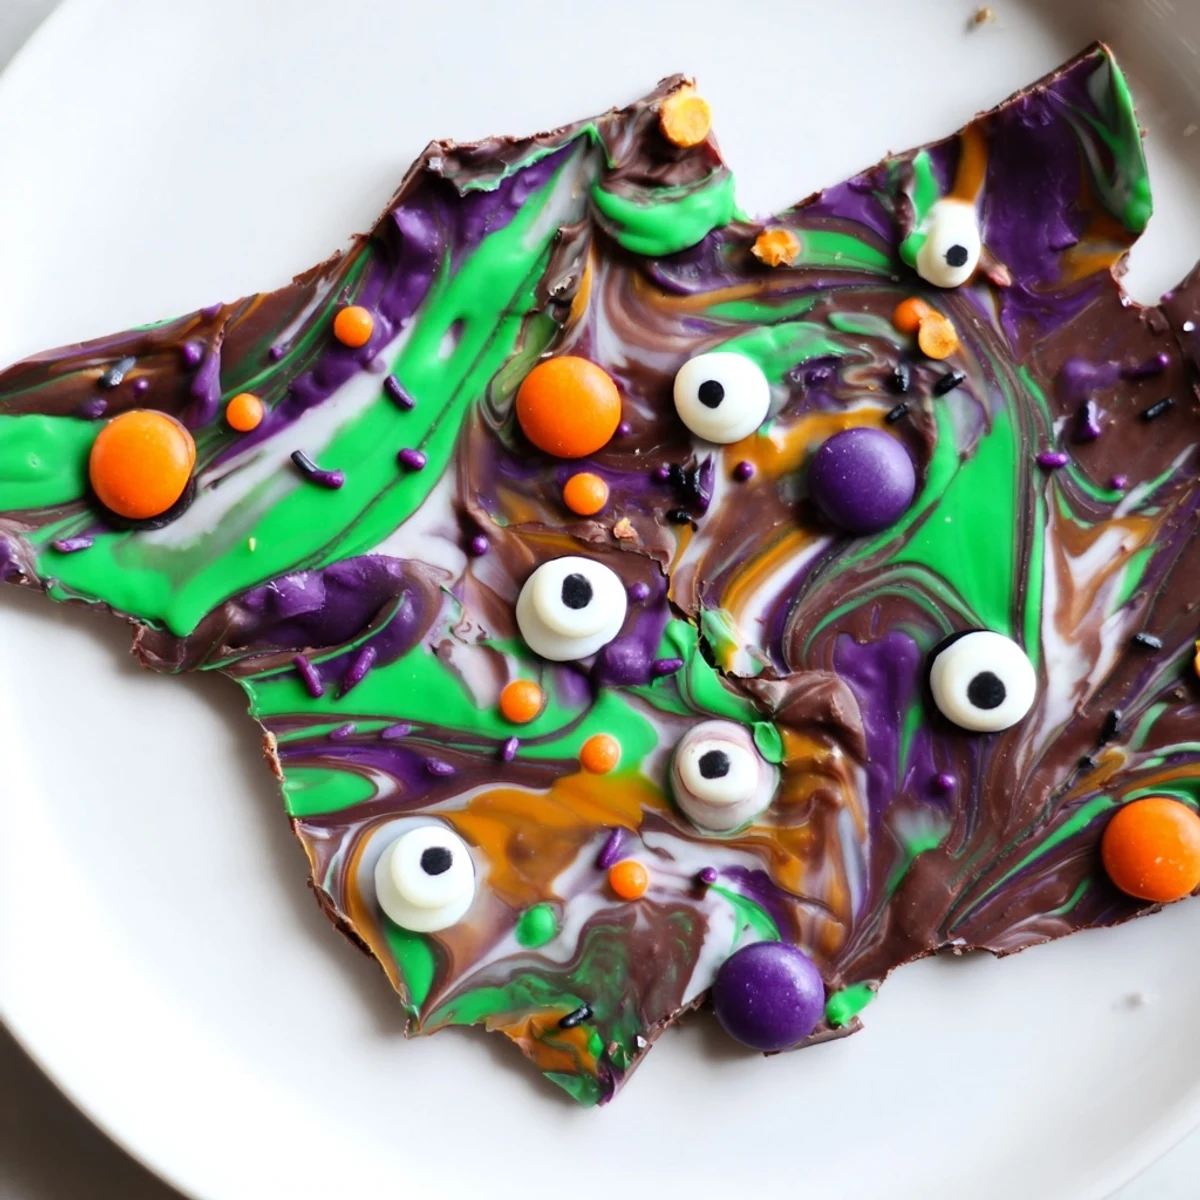
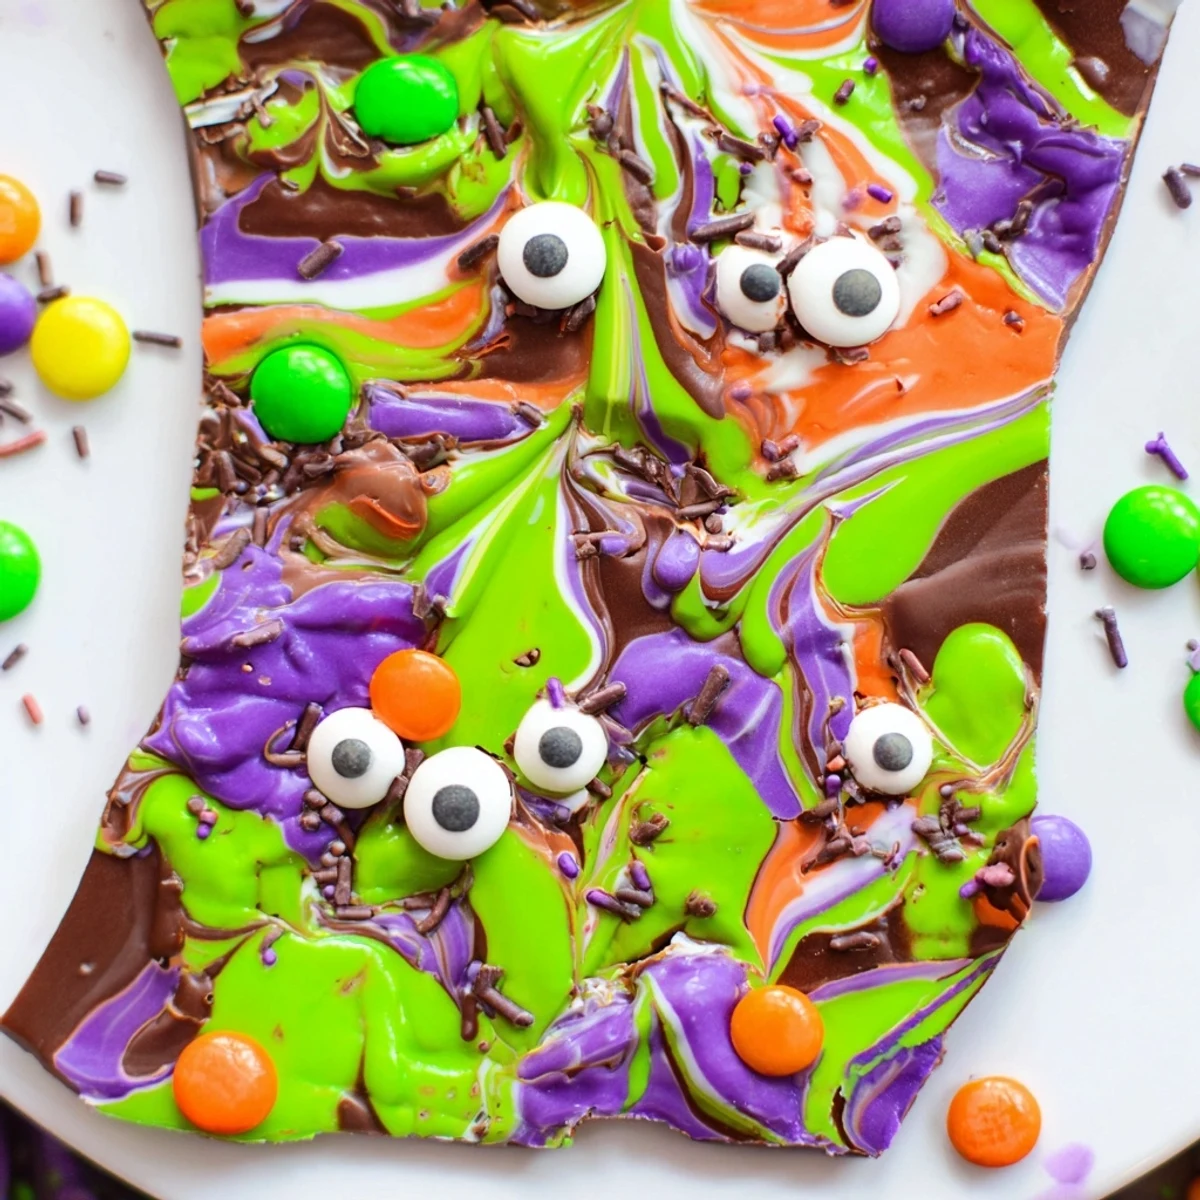
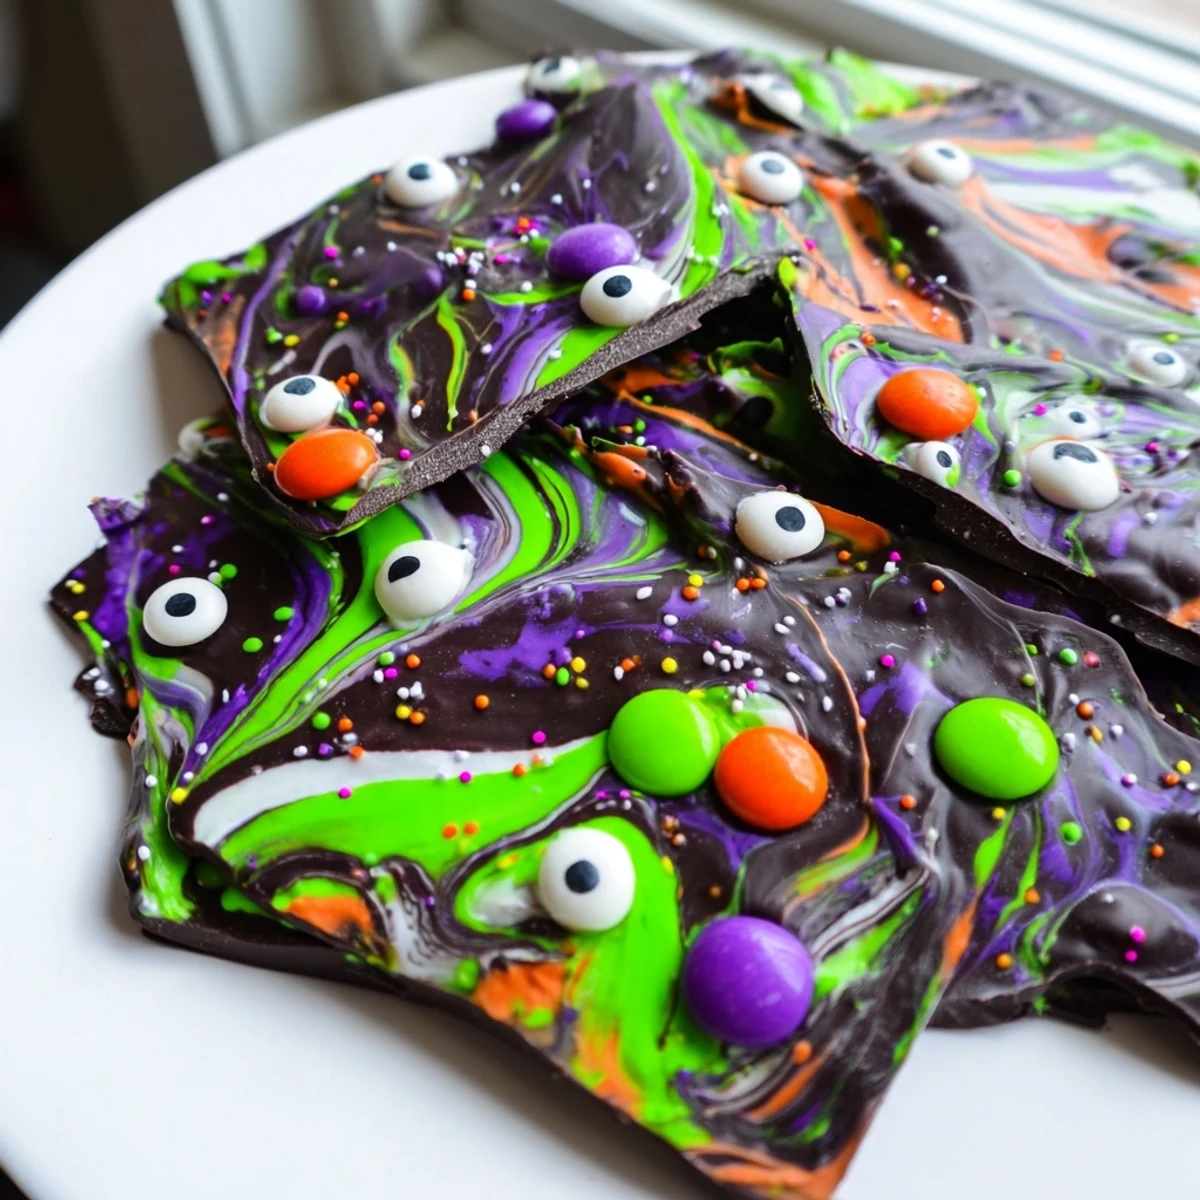
 This festive Halloween treat combines layers of melted semisweet and white chocolate swirled together with colorful candy melts in green, orange, and purple. The marbled chocolate base gets topped with candy-coated chocolates, googly eyes, and festive sprinkles for a playful witchy appearance. Simply melt, spread, swirl, and decorate—the bark sets quickly at room temperature or in the refrigerator. Break into jagged pieces for serving, creating perfect portions for party platters or gift bags. Customizable with different chocolate varieties and safe for nut-sensitive gatherings when using nut-free candies.
Last October my kitchen counter looked like a candy factory explosion, with bowls of melted chocolate in every Halloween color imaginable. My daughter kept sneaking candy eyes meant for the bark, popping them like little edible googly eyes. The whole house smelled like warm chocolate mixed with excited giggles.
I brought this to our neighborhood Halloween potluck and watched adults fight over the pieces with the most candy eyes. One dad admitted he ate three pieces before dinner even started because he could not stop grabbing another every time he walked past the serving table. Now it is requested every year without fail.
Ingredients
- Semisweet chocolate chips: The dark base creates perfect contrast for all those bright candy colors on top
- White chocolate chips: Melts into beautiful swirls that look like spiderwebs when marbled properly
- Colorful candy melts: Green purple and orange transform this into something straight out of a witchs cauldron
- Mini candy-coated chocolates: Little bursts of color and crunch throughout every bite
- Candy eyes: These make the bark come alive and are absolutely essential for the spooky effect
- Halloween sprinkles: The finishing touch that adds sparkle and festive flair
Instructions
- Prep your canvas:
- Line a baking sheet with parchment paper leaving some overhang for easy lifting later
- Melt the dark base:
- Microwave semisweet chocolate in thirty second intervals stirring between each until silky smooth
- Spread it out:
- Pour melted dark chocolate onto your prepared sheet and spread to about one quarter inch thickness
- Prepare the colors:
- Melt white chocolate and colored candy melts in separate bowls using twenty second microwave bursts
- Create the swirl:
- Drop spoonfuls of white and colored chocolates over the dark base then drag a toothpick through to marble
- Add the spooky touches:
- Scatter candy eyes chocolate pieces and sprinkles over the warm bark before it sets
- Let it set:
- Leave at room temperature or refrigerate for ten to fifteen minutes until completely firm
- Break and serve:
- Use your hands to crack the bark into irregular jagged pieces that look like broken spells
 Pin it
 My nephew asked if the candy eyes could really see him and I spent the entire evening insisting they were winking whenever he looked away. Sometimes the best part of Halloween cooking is how seriously kids take the magic.
Making It Your Own
Swap semisweet chocolate for milk or dark depending on your preference. The darker the base chocolate the more those bright colors will pop against it.
Storage Secrets
Keep this bark in an airtight container at cool room temperature for up to a week. The refrigerator can cause the chocolate to bloom with those white streaks though it still tastes fine.
Party Perfect Presentation
Pile the broken pieces on a Halloween platter or scatter them across a party table for guests to grab. The irregular shapes look wonderfully rustic and homemade.
- Package small handfuls in clear bags tied with orange ribbon for party favors
- Set out a bowl of broken pieces near your front door for trick or treaters
- Keep some extra candy eyes on hand because they always seem to disappear during decorating
 Pin it
 This bark has become the Halloween tradition I look forward to most. Even when the candy decorating gets messy and the sprinkles end up everywhere it is worth it for those delighted faces.
Recipe FAQs
- → How long does the bark take to set?
-
The chocolate bark sets in about 10–15 minutes when refrigerated, or can firm up at room temperature in roughly 30–45 minutes depending on your kitchen temperature.
- → Can I use different types of chocolate?
-
Absolutely. Swap semisweet chips for milk chocolate, dark chocolate, or even white chocolate as your base layer. The decorating melts work well with any chocolate combination.
- → How should I store the finished bark?
-
Keep the broken pieces in an airtight container at cool room temperature for up to one week. Avoid storing in the refrigerator unless necessary, as condensation can affect the appearance.
- → Is this suitable for nut allergies?
-
Yes, when prepared carefully. Choose nut-free chocolate chips and candy-coated chocolates, and always read individual labels. The base version contains no nuts, making it adaptable for allergy-conscious gatherings.
- → What if I don't have candy melts?
-
You can create similar colorful swirls using additional white chocolate tinted with gel food coloring, or simply skip the colored swirls and decorate with just the candies and sprinkles for a classic look.
- → Can I make this ahead of a party?
-
Definitely. Prepare the bark 1–2 days in advance and store in an airtight container. Break into pieces just before serving to ensure fresh, clean edges and optimal presentation.