 Pin it
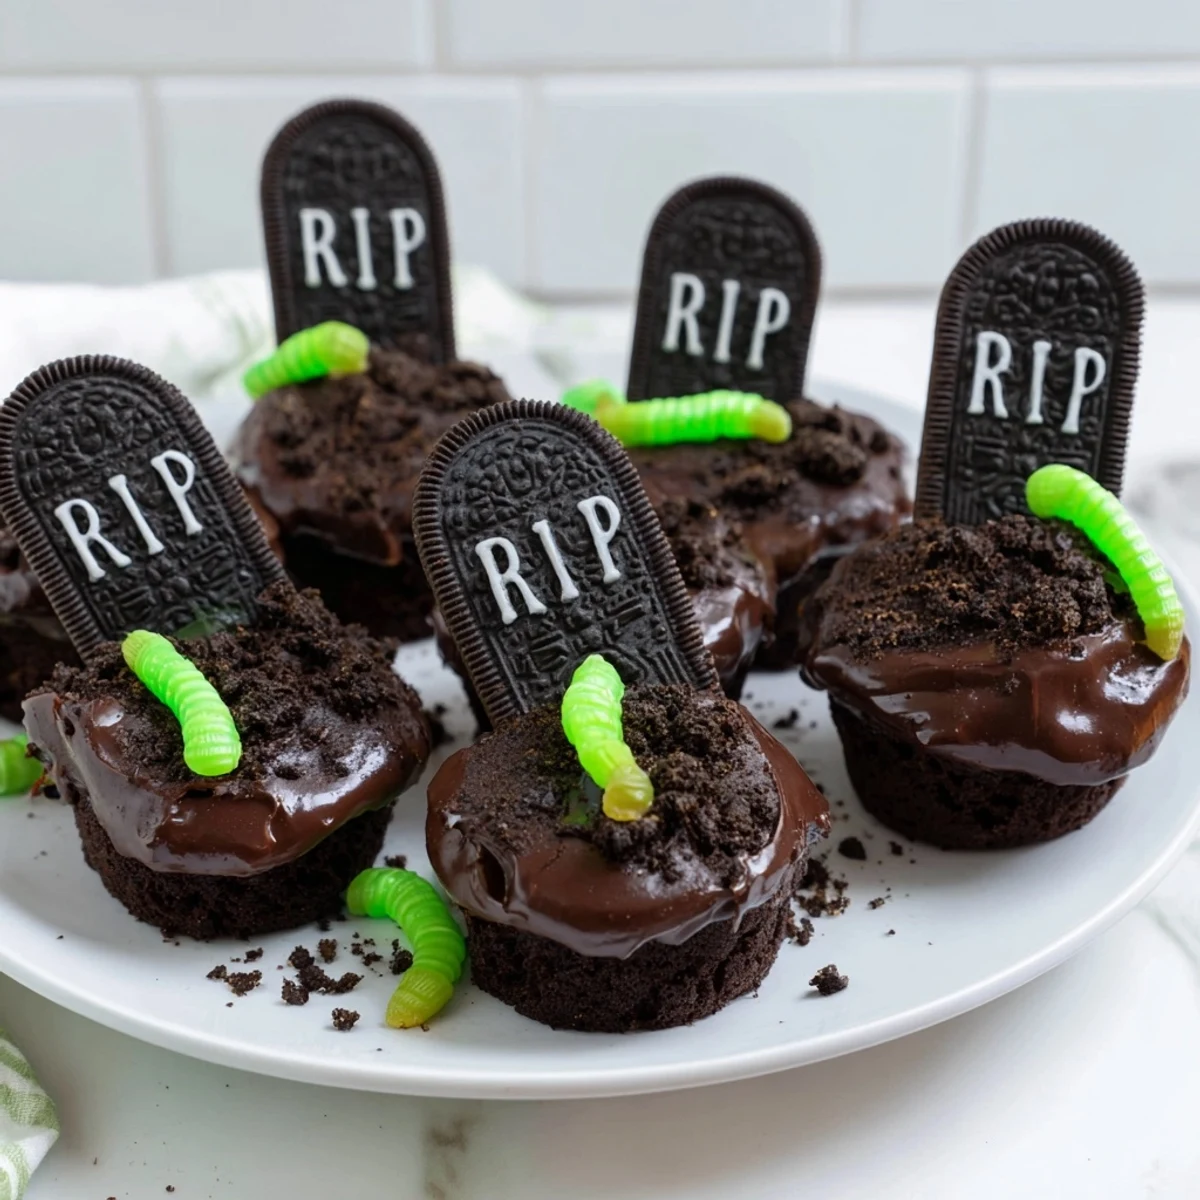
 Create a hauntingly delicious Halloween centerpiece with these graveyard-themed pull-apart cupcakes. Rich chocolate frosted cupcakes are arranged together and topped with crushed chocolate sandwich cookies for authentic soil texture. Rectangular cookies transform into eerie tombstones when decorated with gel icing messages like RIP. The entire presentation comes together in under an hour, making it perfect for last-minute Halloween parties or family baking activities.
The moist vanilla cupcake base balances beautifully with the decadent chocolate buttercream frosting, while crunchy cookie toppings add satisfying texture contrast. Kids love helping decorate the tombstones and scatter the dirt, making this an engaging group project.
The year I made these graveyard cupcakes, my apartment building had a Halloween potluck in the laundry room of all places. I showed up with this tray of dirt and tombstones, and within minutes, people were crowding around the folding table, speculating about whether the worms were real. Watching kids and adults alike get genuinely excited about food that looks vaguely ominous made me realize Halloween desserts hit different when they tell a story.
My niece helped me write RIP on the cookie tombstones, and she insisted on making one that said BOO instead because RIP was too sad. We stood there with our gel icing pens, slightly sticky fingers and all, while she explained her philosophy about Halloween being spooky but not actually depressing. That kid taught me more about party vibes in ten minutes than Id learned in years of hosting.
Ingredients
- All-purpose flour: The foundation that gives these cupcakes structure, though Ive learned measuring by weight rather than volume makes them noticeably more tender
- Unsalted butter: Softened to room temperature so it creams properly with the sugar, creating those air pockets that make the crumb light
- Whole milk: Adds moisture and richness, though Ive used alternative milks in a pinch and nobody noticed the difference
- Large eggs: Bring them to room temperature too, otherwise they wont incorporate evenly and youll get weird dense spots
- Baking powder: The lift that makes them rise properly, and double checking the expiration date is worth the five seconds
- Vanilla extract: Pure extract makes a difference here since the cupcake itself is simple, and this flavor carries through everything
- Salt: Just enough to balance the sweetness and make the chocolate taste more like chocolate
- Unsalted butter for frosting: You want this properly softened but not melty, and taking it out of the fridge an hour before starting usually does the trick
- Powdered sugar: Sifted if you can manage it, because lumps in frosting are annoying to fix later
- Unsweetened cocoa powder: The darker the cocoa, the more intense the chocolate flavor becomes
- Chocolate sandwich cookies: Any brand works, but crushing them right before decorating keeps the dirt looking fresh
- Rectangular cookies: I like vanilla wafers or thin shortbread for tombstones, and they need to be sturdy enough to stand up
- Gel icing pens: These write much more precisely than liquid icing, and the colors stay vibrant longer
Instructions
- Get your oven ready:
- Preheat to 350°F and line your muffin tin with liners. The liners save you from scrubbing baked on batter later, which is the kind of kitchen tip you appreciate after the fact.
- Make the cupcake batter:
- Cream the butter and sugar until it looks pale and fluffy, then beat in the eggs one at a time. Whisk the dry ingredients in a separate bowl, then alternate adding them with the milk, mixing until just combined.
- Bake them up:
- Fill each liner two thirds full, which I do with a cookie scoop for consistency. Bake for 18 to 20 minutes until a toothpick comes out clean, then let them cool completely because warm cupcakes melt frosting into a mess.
- Whip up the chocolate frosting:
- Beat the butter until creamy, then gradually add the powdered sugar and cocoa powder. Add vanilla and milk until you reach a spreadable consistency, and taste it because sometimes you need more cocoa than you think.
- Build the graveyard:
- Arrange the cooled cupcakes touching each other on a serving tray. Frost them all together like one big cake surface, creating that smooth canvas for your decorations.
- Add the spooky details:
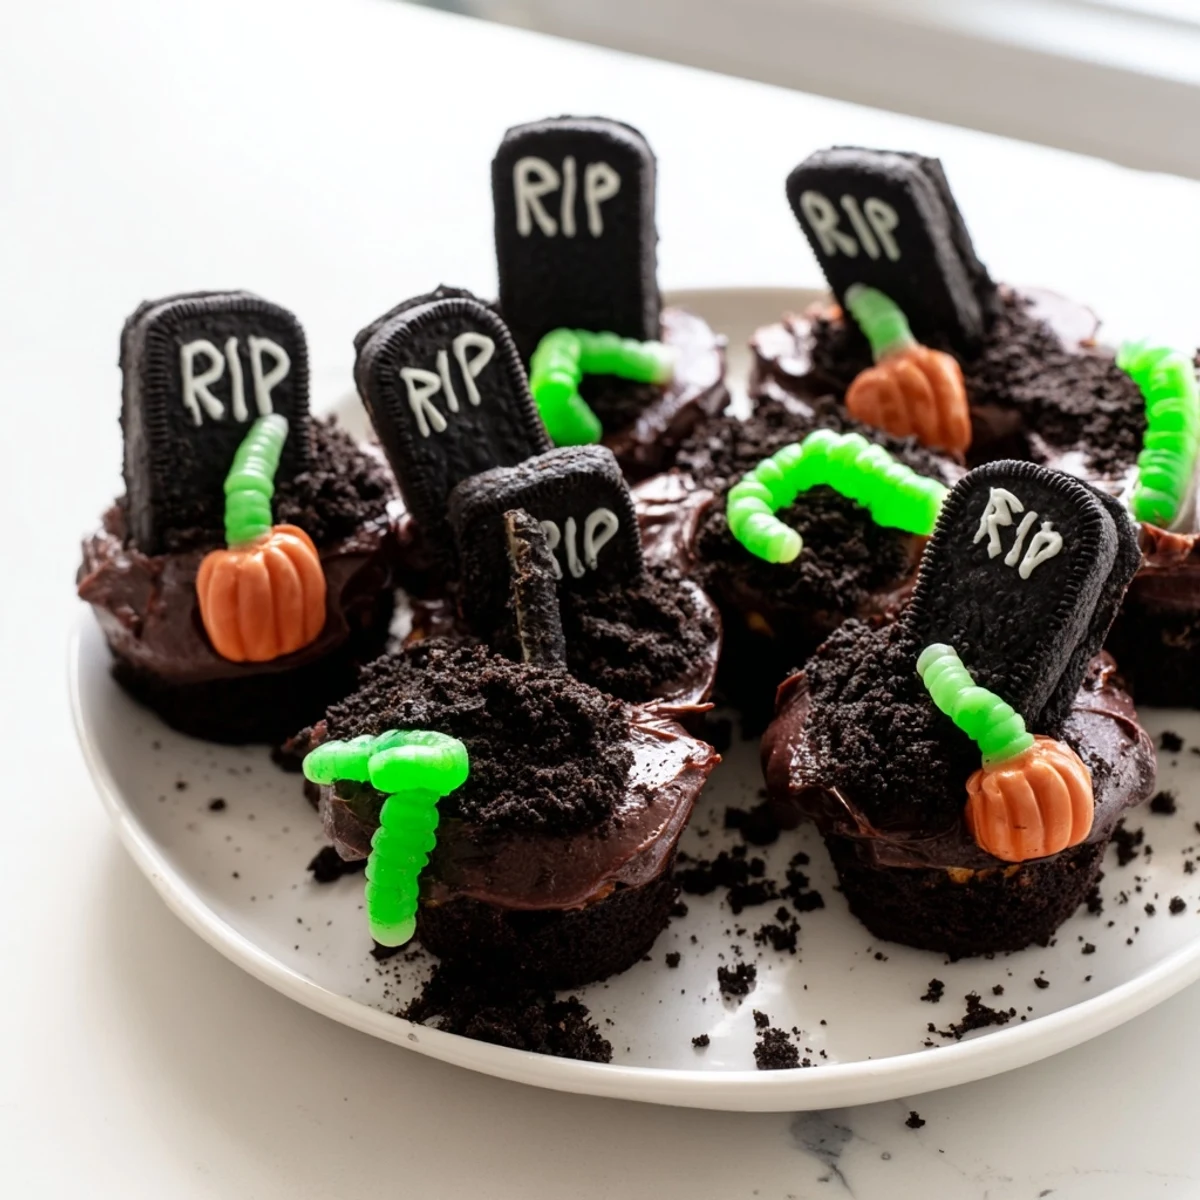
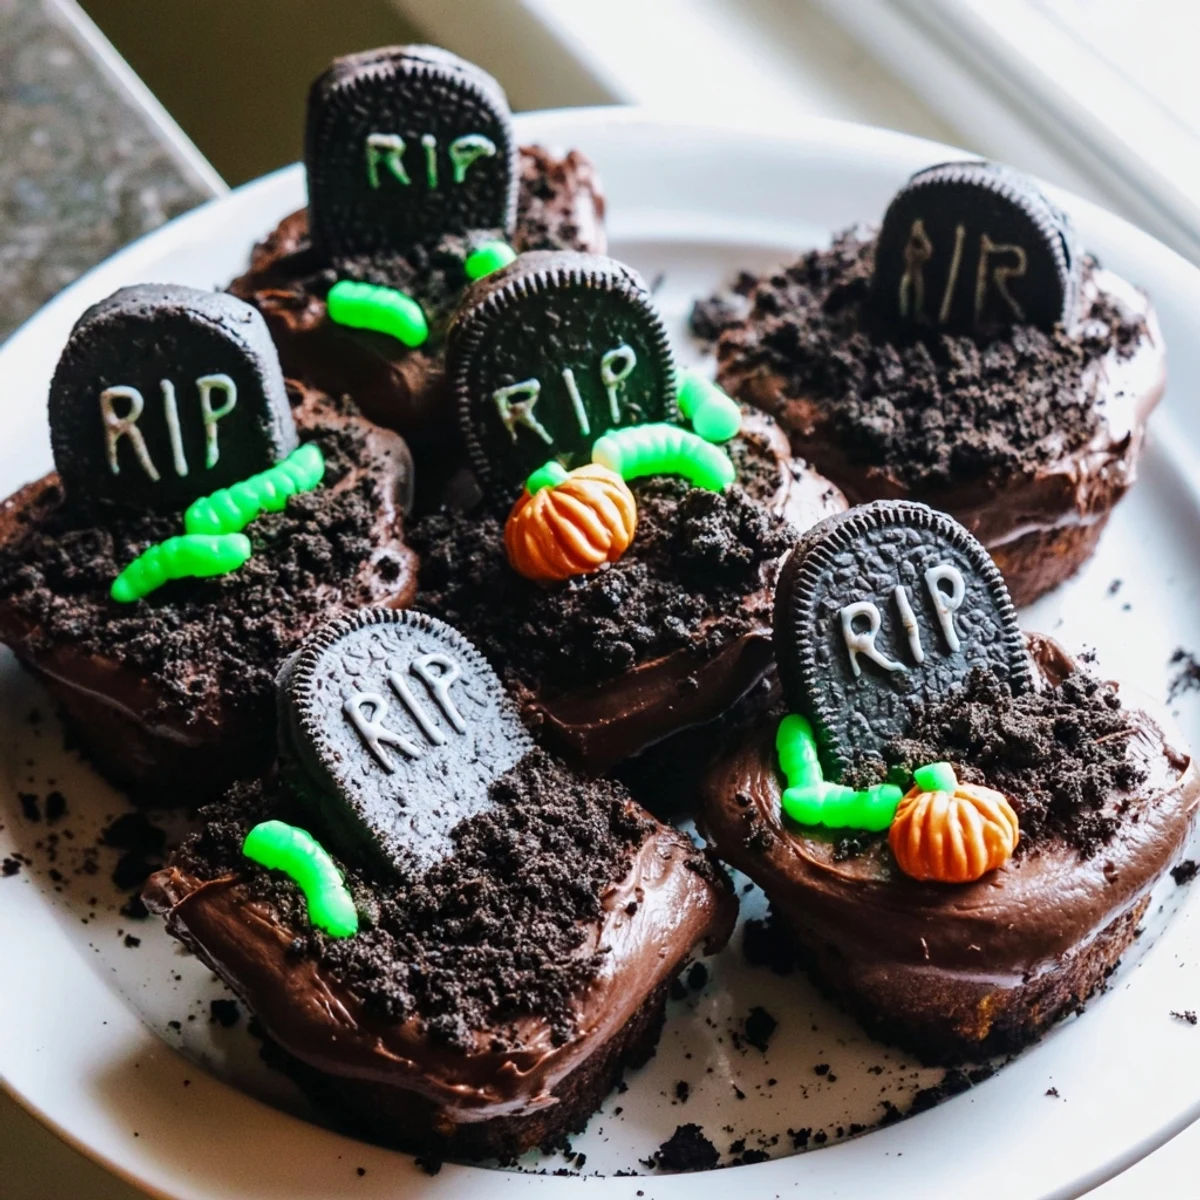
- Crush the chocolate cookies over the frosting for dirt, then write RIP or other messages on the rectangular cookies and press them into the cupcakes. Add gummy worms or candy pumpkins wherever the mood strikes.
 Pin it
 The first time I made these, I arranged the cupcakes too far apart on the tray, which meant frosting between gaps and looking more like individual cupcakes than a cohesive graveyard. Live and learn, but the people at that party didnt care about the aesthetic technicality, they just wanted chocolate on their plates.
Making The Dirt Look Realistic
Crush the chocolate cookies in a ziplock bag with a rolling pin or the bottom of a heavy glass. I aim for various sizes, from fine crumbs to pea sized chunks, because real dirt isnt perfectly uniform. Sprinkle it generously but not so thick that you cant see the frosting underneath.
Tombstone Writing Tips
Let the gel icing set for a minute before pressing the cookies into the frosting, or the writing might smudge. I write RIP first, then add some quirky messages like BOO or HERE LIES for variety. Holding the cookie steady against the counter while writing helps with control.
Assembly And Serving Strategy
Arrange your cupcakes in a rectangle or slightly mounded shape before frosting, since rearranging after they are frosted is a nightmare. Frost all cupcakes at once using an offset spatula, working quickly before the frosting crusts over.
- Chill the assembled graveyard for 15 minutes before serving, which helps everything stay put during transport
- Set out a small knife for people to separate cupcakes without tearing off too much frosting
- These actually taste better at room temperature, so take them out of the fridge about 30 minutes before serving
 Pin it
 Theres something deeply satisfying about serving food that makes people gasp before they even take a bite. These graveyard cupcakes have become my go to for October gatherings because they hit that perfect sweet spot between genuinely impressive and secretly easy to pull together.
Recipe FAQs
- → How far in advance can I make these Halloween cupcakes?
-
You can bake the cupcakes up to 2 days ahead and store them in an airtight container. Prepare the frosting and crush the cookies the day before. Assemble and decorate the graveyard cupcakes 4-6 hours before serving to keep the tombstones crisp and the dirt from getting soggy.
- → What type of cookies work best for the tombstone decorations?
-
Rectangular biscuits like shortbread, graham crackers, or vanilla wafers work perfectly as tombstones. Look for sturdy cookies that won't break when pressed into the frosting. Chocolate-covered graham crackers add an extra mocha dimension to the graveyard theme.
- → Can I make these graveyard cupcakes gluten-free?
-
Yes! Substitute the all-purpose flour with a 1-to-1 gluten-free flour blend. Use gluten-free sandwich cookies for the dirt and gluten-free biscuits for tombstones. Always check that all decorations and baking ingredients are certified gluten-free.
- → How do I store leftover assembled graveyard cupcakes?
-
Store assembled cupcakes in the refrigerator in a covered container for up to 3 days. The cold helps firm the frosting and keeps decorations secure. Bring to room temperature 30 minutes before serving for the best texture and flavor.
- → Can I use boxed cake mix instead of homemade cupcakes?
-
Absolutely! Use your favorite chocolate or vanilla boxed cake mix to save time. The graveyard decorations and chocolate frosting make these special regardless of the cupcake base. Just ensure you have 12 standard-sized cupcakes for proper assembly.
- → What other Halloween decorations can I add?
-
Beyond the basic tombstones and dirt, add candy bones, plastic skeleton figurines, edible ghosts made of marshmallows, or pretzel sticks fencing. Orange and black sprinkles, crushed Oreos mixed with green food coloring for moss effects, and piped chocolate spider webs enhance the spooky atmosphere.