 Pin it
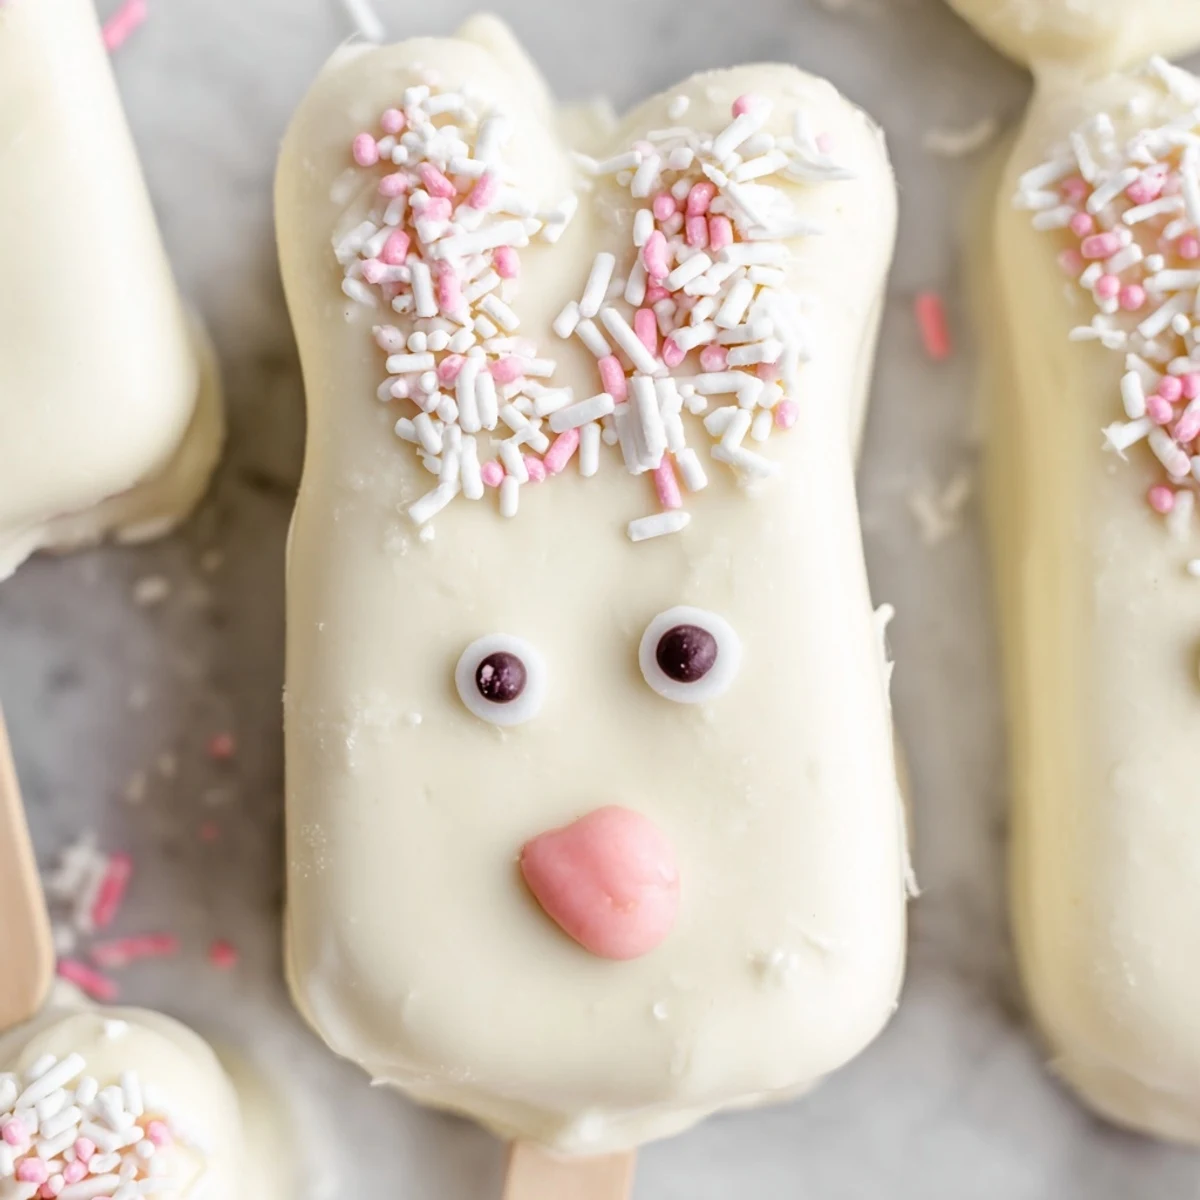
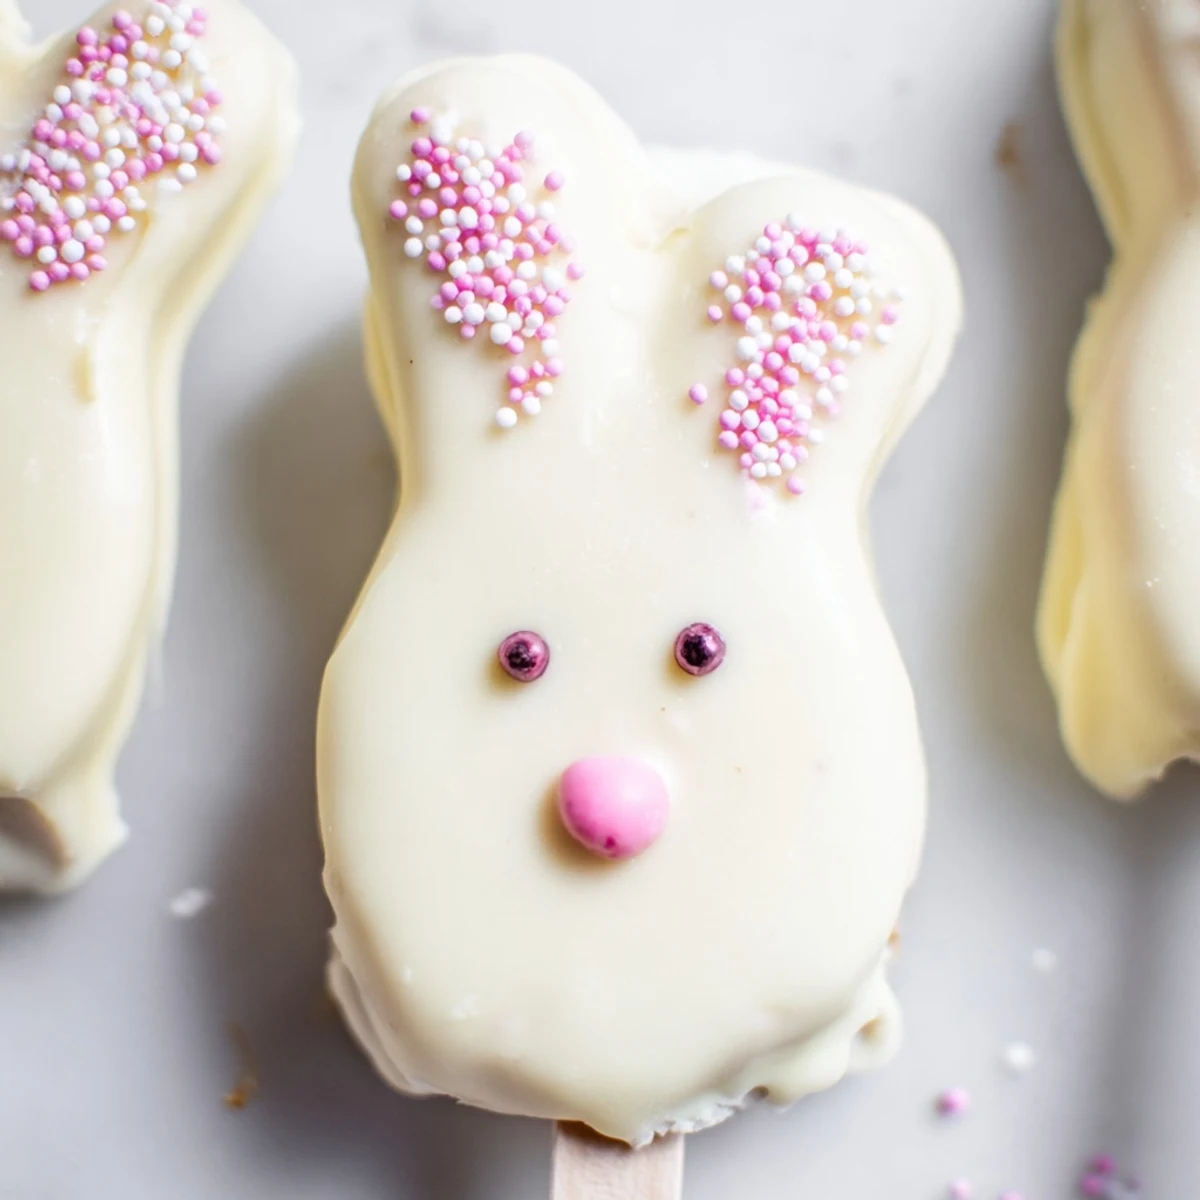
 These adorable bunny-shaped treats start with moist vanilla cake crumbs mixed with cream cheese, butter, and vanilla for the perfect dough consistency. Shape into flattened ovals, insert sticks, and chill until firm. Dip in melted white chocolate and decorate with candy eyes, sprinkles, or fondant to create charming bunny faces perfect for Easter celebrations.
The creamy white chocolate coating complements the sweet cake center beautifully. Kids love helping decorate these festive treats with colorful edible gel for bunny noses and pink ears. Each batch makes eight generously sized cakesicles.
Last Easter, my kitchen turned into what I can only describe as a chaotic chocolate laboratory. I had these grand visions of picture-perfect bunny cakesicles, but somewhere between melting white chocolate for the third time and discovering my toddler had eaten half the candy eyes, things went gloriously off-script. The funny thing is, those imperfect, lopsided bunnies disappeared faster than any dessert I've ever made. Now it's become this weirdly beloved tradition where we embrace the messy magic of making something adorable together.
I made these for my daughters class party last spring and honestly, I was sweating it. Thirty kids, tiny sticks, white chocolate coating—what could possibly go wrong? But watching them light up when they saw the bunny faces, sticky fingers and all, made every minute of prep worth it. One little boy told me it was the best thing hed ever eaten, and his mom later texted asking for the recipe because he wouldnt stop talking about the bunny pops.
Ingredients
- Vanilla cake crumbs: I keep a bag of leftover cake trimmings in my freezer specifically for these—store-bought works perfectly fine, but homemade adds that extra love
- Cream cheese: Room temperature is non-negotiable here, or you will end up with lumpy mixture that refuses to hold together
- Unsalted butter: Adds richness without competing with the white chocolate flavor
- Powdered sugar: Just enough to bind everything and add a touch of sweetness
- White chocolate: High-quality melts make coating so much smoother, but regular white chocolate chips work in a pinch
- Cakesicle sticks: I learned the hard way that lollipop sticks are too flimsy—get the proper ones
- Edible decorations: Candy eyes are my shortcut because piping tiny bunny faces with chocolate made me question my life choices
Instructions
- Mix the cake pop dough:
- Combine all your cake ingredients in a medium bowl, mixing until everything holds together when you squeeze it. If it feels too dry, add another teaspoon of cream cheese, and if its too sticky, a few more cake crumbs will save you.
- Shape your bunnies:
- Divide into 8 equal portions and gently flatten each into an oval-ish bunny face shape, keeping them somewhat uniform so they dip evenly.
- Add the sticks:
- Push each stick about halfway into the cake pop, gently pressing the cake around the base to secure it, then refrigerate until firm—this step prevents tragic stick disasters during dipping.
- Melt the chocolate:
- Heat your white chocolate in 30-second bursts, stirring between each, until completely smooth and pourable, being careful not to overheat or it will seize up and ruin everything.
- Coat the bunnies:
- Dip each cake pop into the chocolate, gently tap off the excess, and immediately place on parchment paper—the coating sets fast, so work quickly with decorations.
- Add faces and details:
- While the chocolate is still soft, add candy eyes, sprinkle noses, or whatever bunny features you like, then let them set completely before serving.
 Pin it
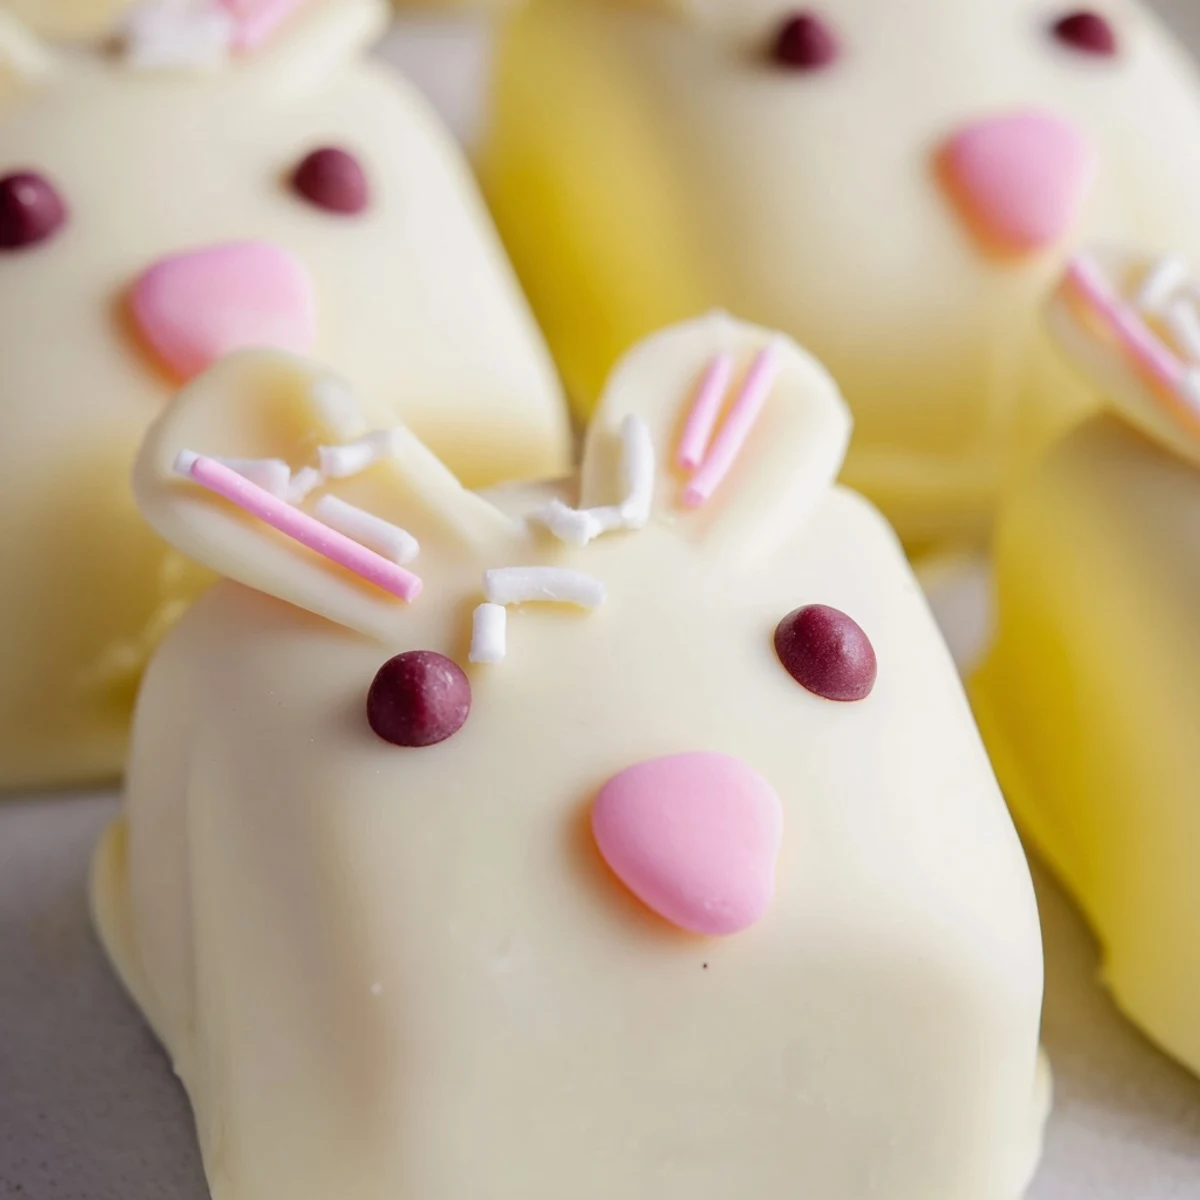
 My niece helped me with a batch last year and decided every bunny needed different colored ears. Some had pink, some yellow, one had blue because she insisted that bunnies come in all colors. You know what? She was right. Those colorful, quirky little treats brought so much joy that I cant imagine making them any other way now.
Making The Cake Crumbs
Whenever I bake a vanilla cake or cupcakes, I intentionally make extra just to crumble for these. Just break your cake into pieces and pulse it in a food processor until you have fine, uniform crumbs. The texture matters here—big chunks make for lumpy pops that are hard to shape.
Decorating Without Stress
Set up your decorating station before you start dipping the cake pops. Have all your sprinkles, eyes, and any other decorations ready in small bowls so you can work quickly. Once that chocolate starts setting, you have maybe 30 seconds before adding decorations becomes impossible.
Storage And Serving
These actually taste better after a day in the fridge because the flavors meld together. Store them upright in a glass or jar with parchment between layers to prevent sticking, and they will keep for up to three days. I have found they disappear way before that ever becomes an issue.
- Let them come to room temperature for about 10 minutes before serving for the best texture
- If you are transporting these, use a piece of Styrofoam or a cardboard box with holes poked in it to hold them upright
- Any leftover melted white chocolate can be drizzled over parchment paper to make bonus bark decorations
 Pin it
 There is something so special about making food that makes people smile before they even take a bite. These bunny cakesicles have become my go-to for bringing that little extra magic to spring celebrations.
Recipe FAQs
- → How far ahead can I make bunny cakesicles?
-
These treats stay fresh for up to 3 days when stored in an airtight container in the refrigerator. The white chocolate coating helps preserve the moist cake center, making them perfect for preparing a day before your Easter gathering.
- → Can I use store-bought cake instead of homemade?
-
Absolutely! Store-bought vanilla cake or cupcakes work wonderfully for creating the cake crumb mixture. Simply crumble the cake finely and mix with the binding ingredients. This shortcut saves time while still delivering delicious results.
- → What other cake flavors work well for these treats?
-
Chocolate cake creates a rich contrast with white chocolate coating, while lemon or strawberry cake adds bright fruity notes. Red velvet also looks stunning peeking through the white coating. Choose whatever flavor your family enjoys most.
- → How do I prevent the coating from cracking?
-
Ensure your cake shapes are thoroughly chilled before dipping—the cold helps the white chocolate set quickly. Avoid overhandling while decorating, and let them set at room temperature rather than rushing them in the fridge, which can cause thermal shock.
- → What decorations work best for bunny faces?
-
Candy eyes with edible marker pupils, pink fondant triangles for noses, and curved sprinkles or fondant shapes for ears create classic bunny expressions. Pretzel sticks dipped in pink chocolate also make adorable ears that add a nice crunch.
- → Can I make these without sticks for traditional cake pops?
-
Simply shape the mixture into rounds instead of flattened ovals and skip inserting sticks. Roll the chilled balls in melted white chocolate using a fork or dipping tool, then decorate as usual. You'll get about 12-15 cake pops from this same mixture.